|
We hope you enjoy these FREE PDF's files we have created for you. The only payment that we ask is that you do not share these with anyone and that you are a subscriber to our YouTube channel. This just helps us earn a little to pay for the process and software we use to create these free files. We will be creating this next week, the first of March 2020. Thanks and enjoy E
15 Comments
These are FREE downloads, all we ask is that you Subscribe to our YouTube channel. Thank you for your support. E
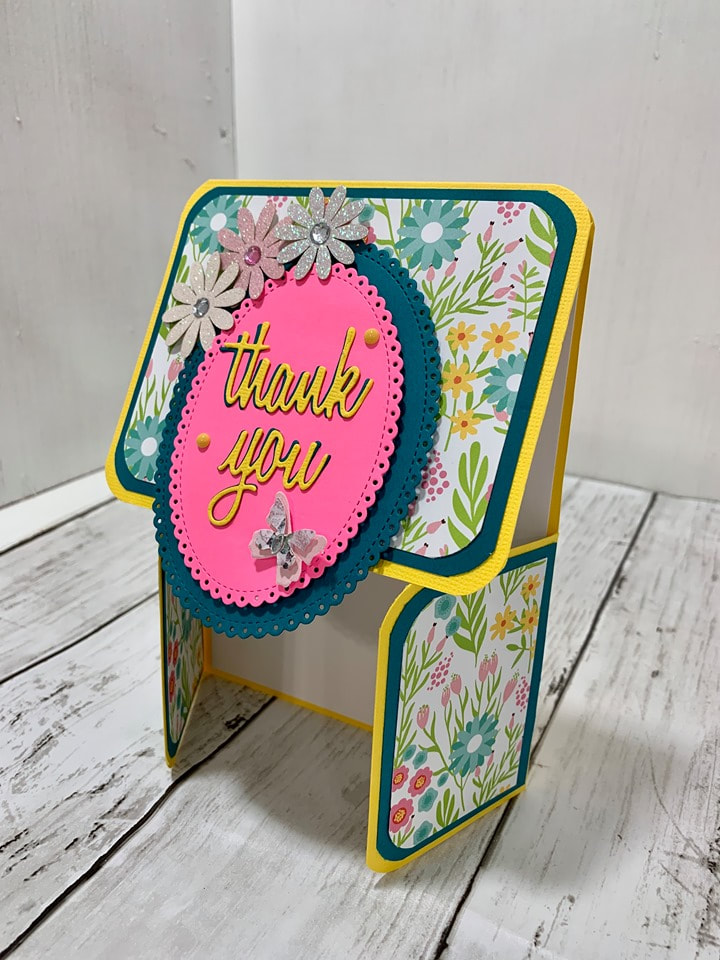
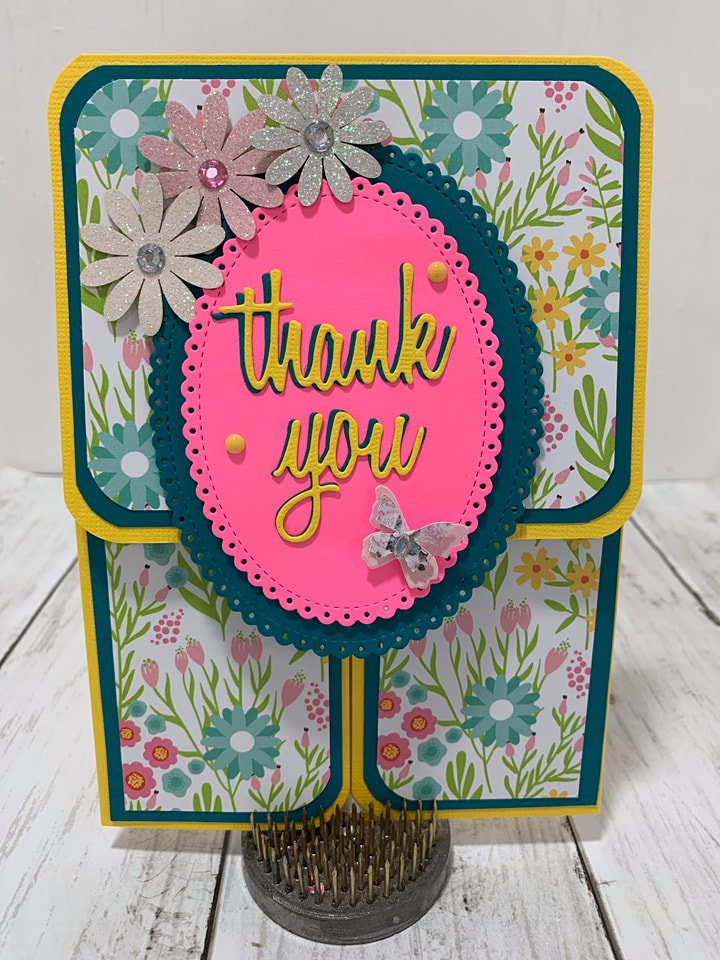
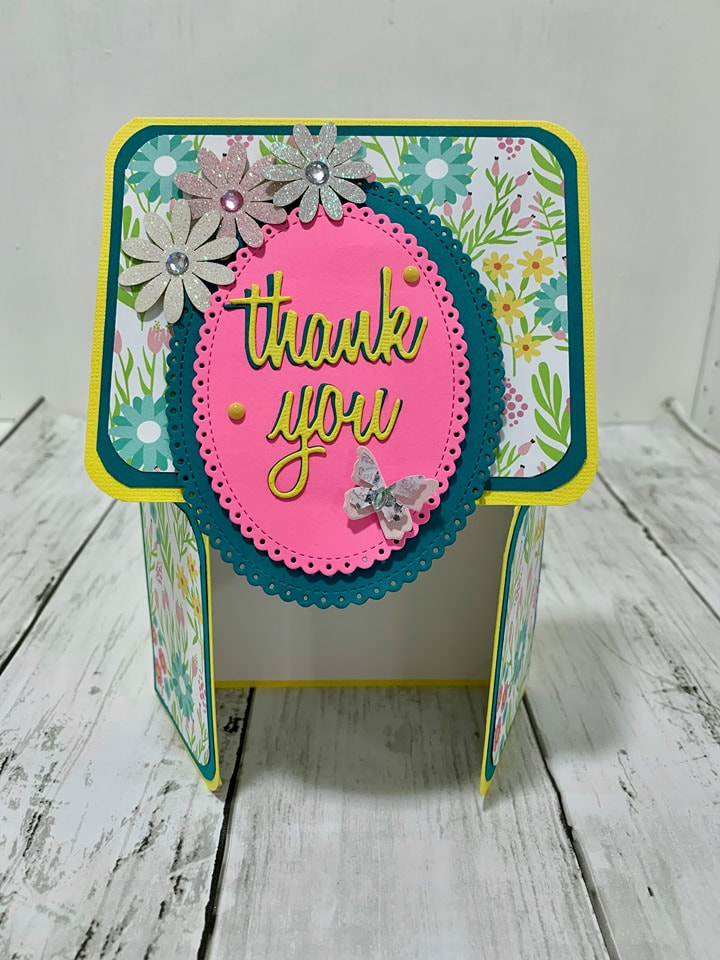
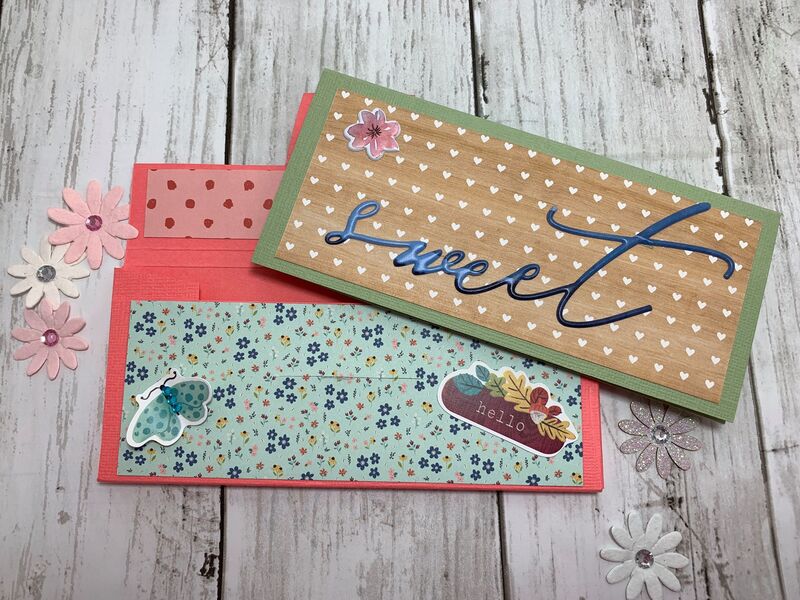
This is a very quick and easy card and I want to thank Susan our Admin for sharing her measurements with me. She did a beautiful card but I just couldn't get her to do a video for your guys. lol
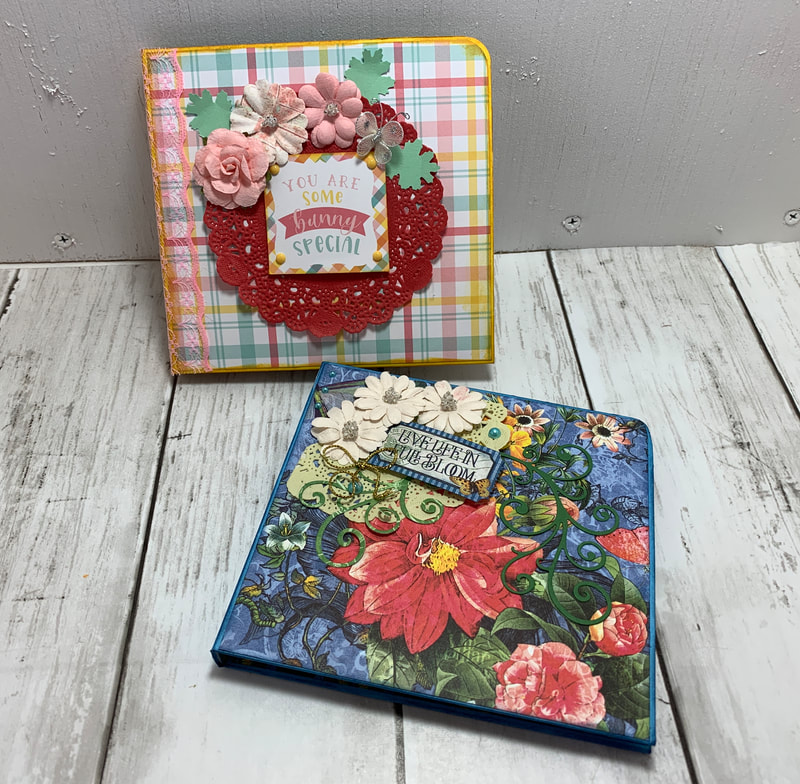
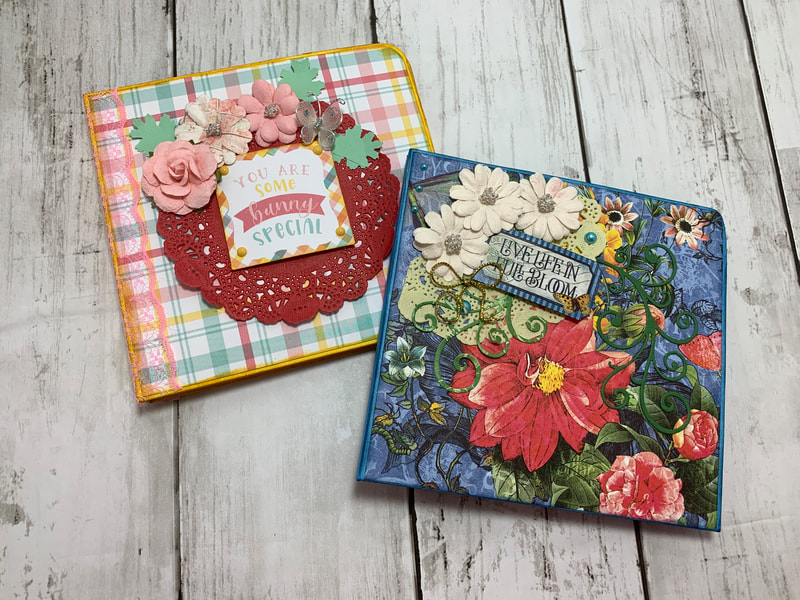
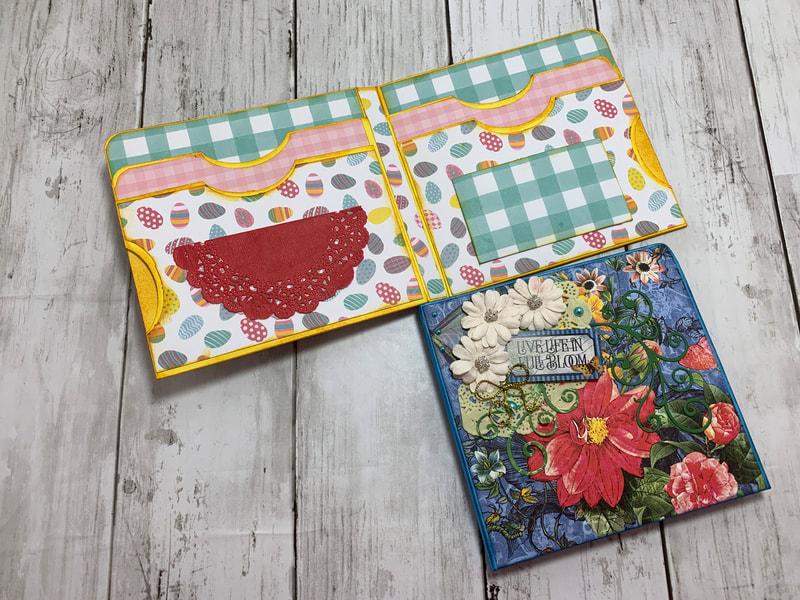
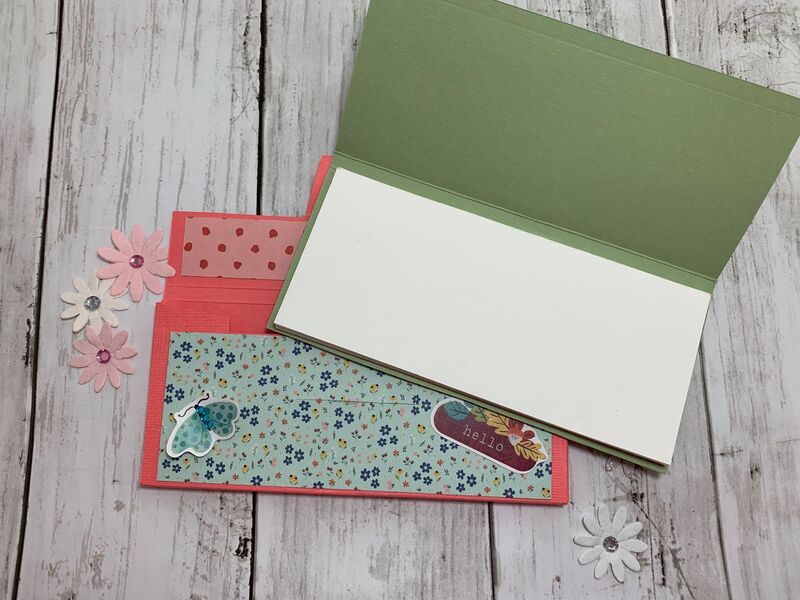
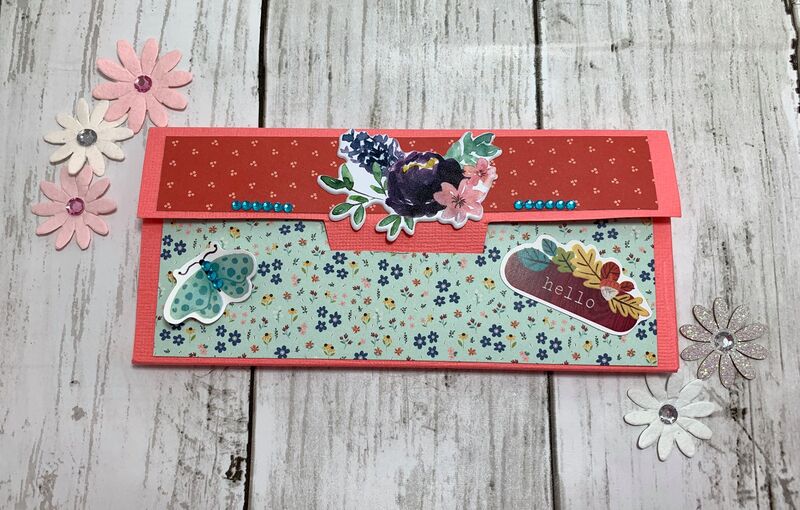
You will start out with a piece of cardstock that is 10"x11" on the 10" side score at 2 1/2", 7 1/2" turn and on the 11" side score at 7" and then at the 3 1/2" mark just score down to first horizontal score line. Flip card over and score at the 3 1/2" score line just down to the horizontal score line. You will now cut away some pieces, If you check out the video I show you exactly how to determine which to cut away. You are now ready for mats: The inside mat is cut at 4 3/4"x6 3/4" Top mats are cut at 4 3/4"x3 3/4" cut 2 4 1/2"x3 1/2" cut 2 Bottom mats - 2 1/4"x3 1/4" cut 4 2"x3" cut 4 Assemble and decorate and you have a very beautiful card. All the products I used are linked below the video. Enjoy and if you create this card don't forget to share with us on our Facebook group also linked below the video. E Card Box with Notepad inclosed. Card Box is 8x9 1/4 inches on the 9 1/4" side score at 1 1/8", 1 3/8" 7 7/8" 8 1/8" Mark at 3 5/8" and 5 5/8" then turn to the right. Score at 2 3/8" 2 5/8", 5 1/2" and 5 3/4" mark at 7". For the note pad I used a piece of paper that is 6 1/2"x6" score on the short side at 2 7/8" and 3 1/8". Mats are cut at 2 1/2" x 6" cut 2. Mats for the card box are cut at 2 1/4"x6", 1"x6", 2 3/4"x6" For the note pad paper you will need to cut those at 2 3/4"x6 1/2" Glue together as shown in the video. Cut a piece of chipboard the same size for the back. Mark cup from the bottom of your box paper 1", find the center and mark, then mark 1" to the left of center and 1" to the right of center as shown in the video. Cut your opening here for the tab closure to go into. Below is the template for the box. Please make sure you are subscribed to my YouTube channel before downloading this file. I do not charge for these but I do ask that you are a subscriber and support my channel. Thank you.
2 Pieces of cardstock cut at 6"x12" score the first one on the long side at 7" and 11". On the second piece score it at 2 3/4", 4 3/4" and 11 3/4". Then you will attach these two pieces at the small tabs on each end. Chipboard pieces are cut at (make sure to cut a little shy of these measurements) 6"x7" cut 2, 4"x6" cut 1, 2"x6" cut 1, and then 3"x6" cut 1. You will cut your mats for the front of the album the same size as the chipboard. You will need two pieces of cardstock that are cut at 7"x12" and you will need to glue these two pieces together, making one long piece. Score at 1/2" on two long sides and one short side. Just form fit around your mini album. We will attach this and do our pages on Friday. Measurments for pages will be up Friday after the video. Spine attachment pieces. This is Laura D's Stack the Deck You will need 4 pieces, the first is 5 1/2"x5" score on the 5" side at 3/4" and 4 1/4" 2nd piece is 5 1/2"x4" score on the 4" side at 3/4" and 3 1/4" 3rd piece is 5 1/2"x3" score on the 3" side at 3/4" and 2 1/2" 4th piece is 5 1/2"x2" score on the 2" side at 3/4" and 1 1/4" NOTE: if you want a decorative white edge border as I have put on mine just use a scrap piece and trim out to fit as I did in the video. Fold on the score lines and place adhesive on all tabs front and back. Follow the instructions in the video as to how these assemble. Pages: Cut 8 pieces at 11 1/2"x6" score on the 11 1/2" side a 5 1/2"and 11", put adhesive on the 1/2" flap. See video as to how these go together. Page mats cut at 5 1/4"x5 3/4" Pocket inserts are cut at 5 1/2"x5 1/4" Inside mats for the album are cut at 5 3/4"x6 3/4" cut 2. Then cut a small one that is 1 3/4"x6 3/4", and for the front flap that we have a decorative edge on use a piece of paper about 3" and draw the cut out to place on here. Handle is cut at 1 5/8"x12" score at 3/8" and 1 1/4", the mats for the handle is cut at 3/4"x10". The file for the flap is below.
|
AuthorI am a crafter, teacher, businesswoman, mom, nana and wife and recent widow. I find that hard work keeps my mind off things of this world and my sweet hubby. Therefore crafting is my therapy. I love to teach what I know to others and share any inspiration that I can. I believe crafting is therapy. Thank you so much for your support. Archives
July 2024
Categories
|
||||||||||||||||||||||||||||||||||||||||||||||||||||||||||||||||||||||||||||||||

 RSS Feed