|
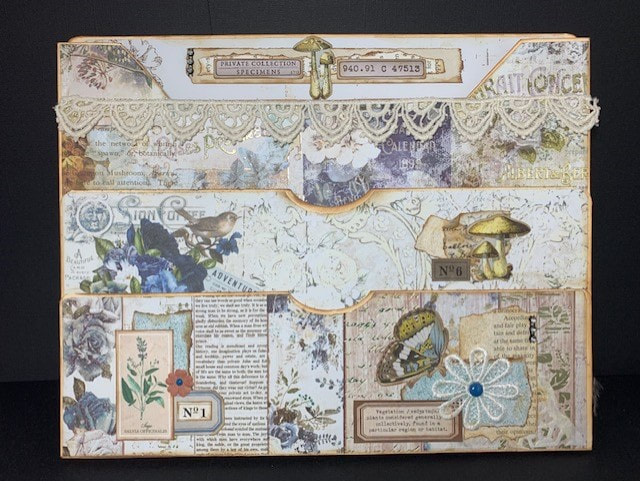
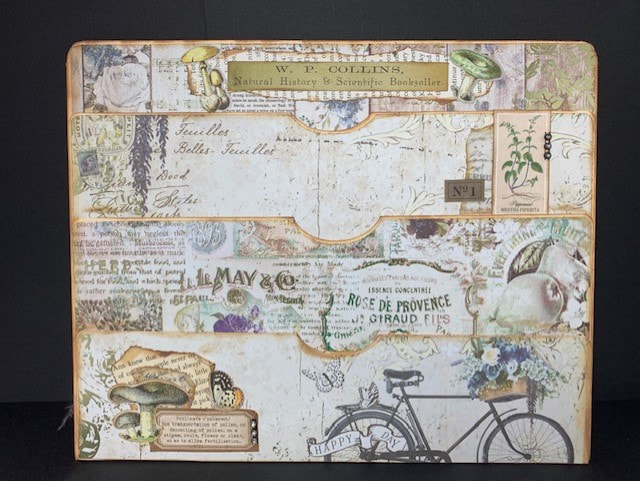
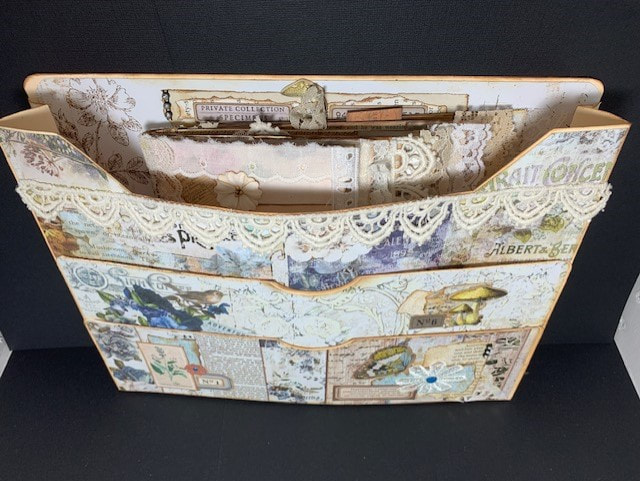
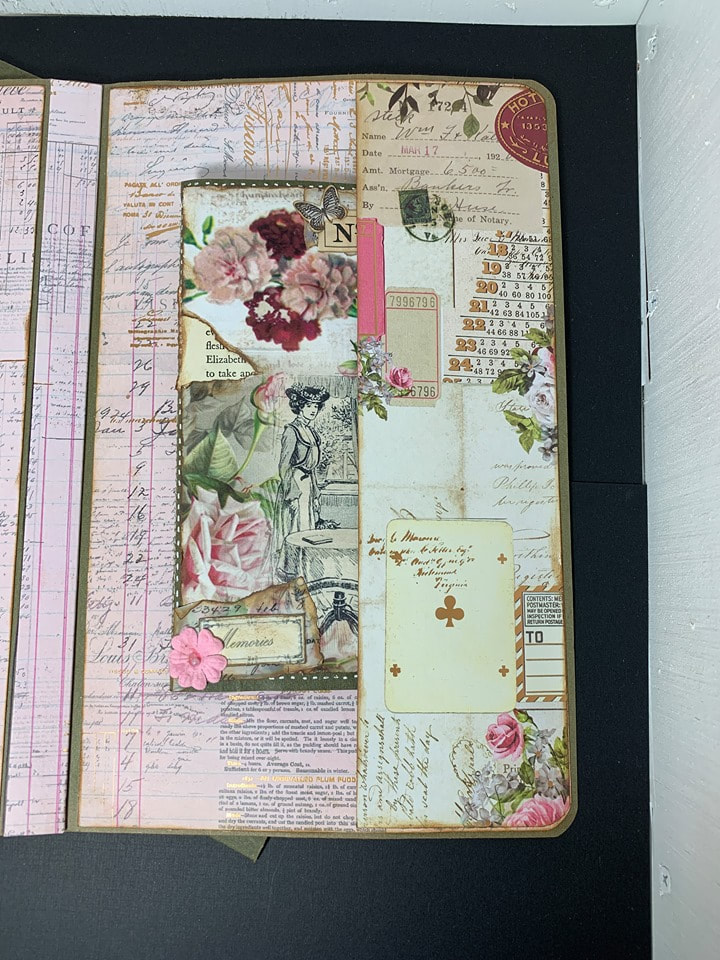
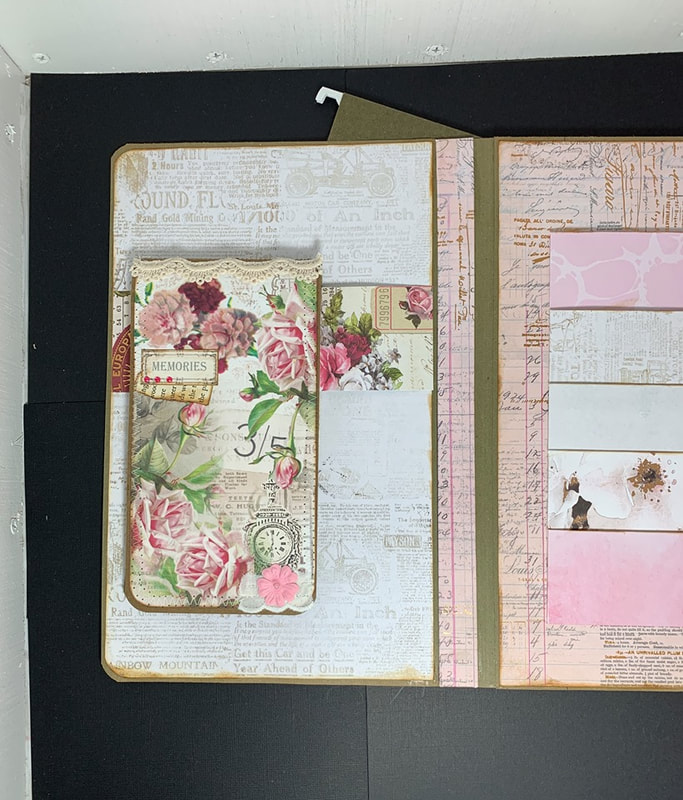
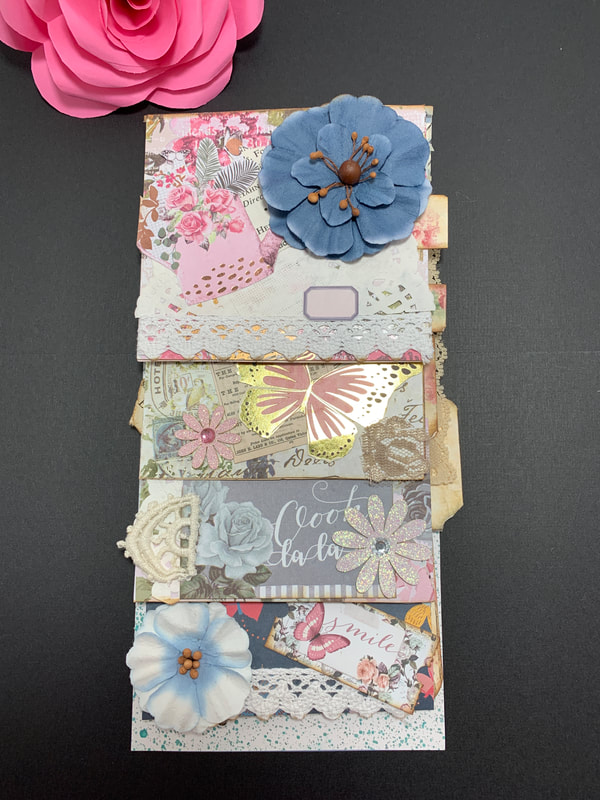
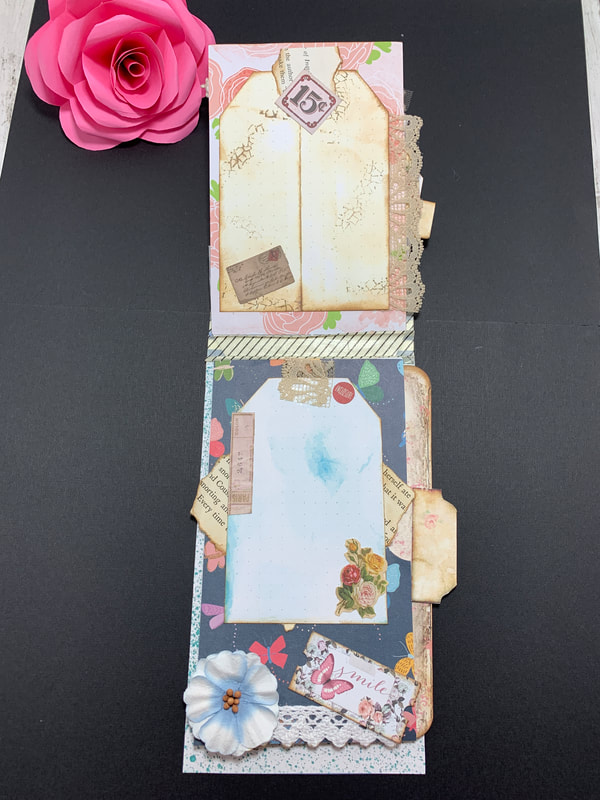
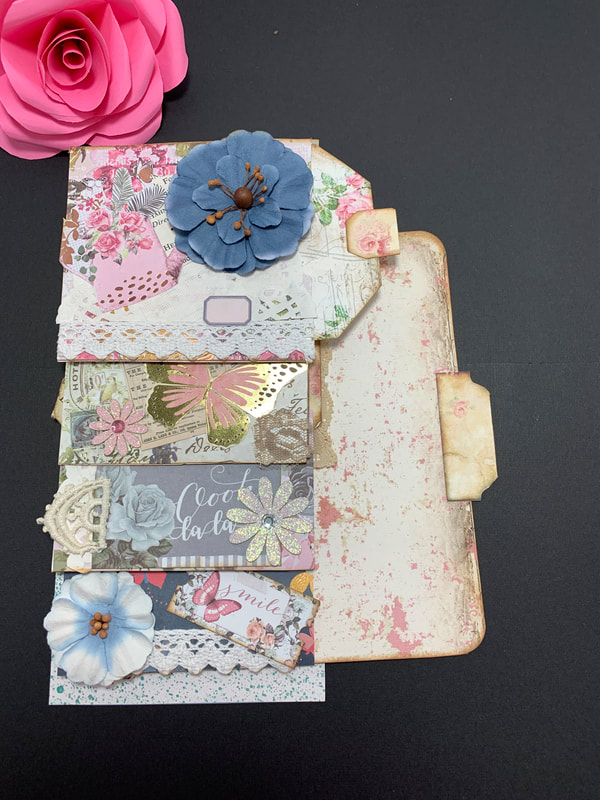
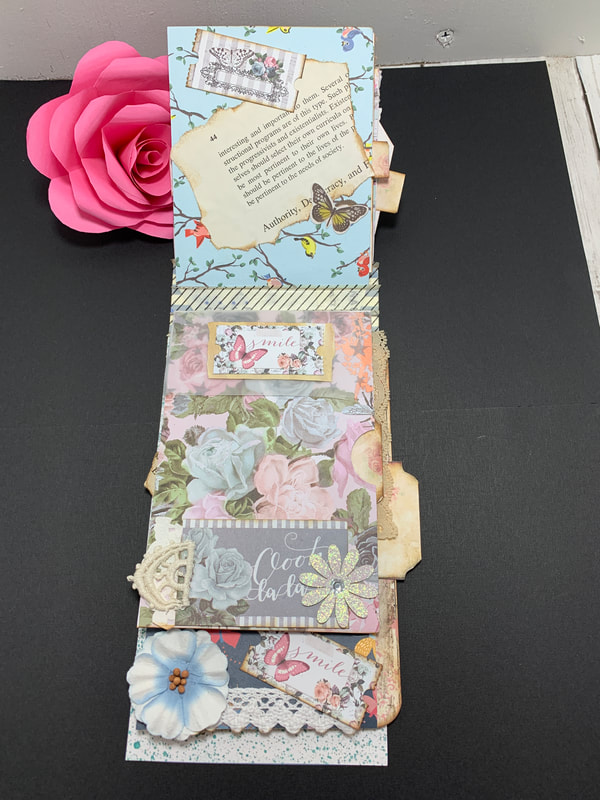
Sizes for the folders, cardstock and the pockets. If you are using file folders then you will need two of them. Mine are the standard size 11 3/4"x9 1/4". I opened one and cut one side off it as shown in the video. The other one I just cut a little more off the top part. Again shown in the video. Mats are cut at 11 5/8"x4" cut 2 11 5/8"x3" cut 1 11 5/8"x3 1/2" cut 1 Pockets on back are cut at 11 3/4"x8 3/4" then cut a piece that is 9 1/2"x11 3/4" and fold at 2 1/2", this folds up to make your third pocket. Mats for the back pockets are as follows: 11 5/8"x2 1/2" 11 5/8"X3 1/2" 11 5/8"X3 1/2" 11 5/8"X2 7/8" This should get all the measurements if you are using cardstock or the file folders. If you use cardstock just make sure you make the cusset for the sides so it will expand a little. Products used in this video are linked below the video. Thanks so much for your support, E
1 Comment
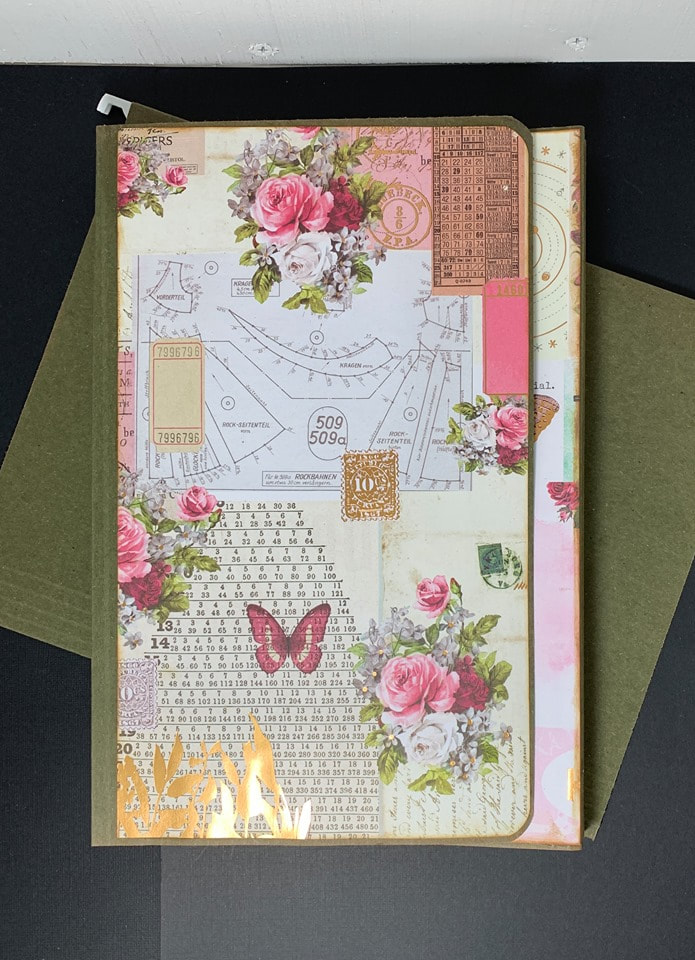
Hanging File Folder double folio You will need two file folders that are 8x11 3/4. If you don't have any or don't have this size then just use what you have you can still make this just follow the instructions and adapt to your product. File folders will work on this too. On the first folder you will score at 7 14/" and 8". This will be the left one. On the second folder you will score at 7 3/4" and 8 1/2". This will be the right one. Make sure to keep them right and left position. If you are going to make the slits in your folio like I did and then glued together, make a mark in 1 1/2" from right score line and 1 1/2" in from left edge of folder. Mark down every 2 1/2" this will be where you make the openings for the pockets. If you are not going to make these slits like I "closed up" lol, then the pockets like I made a listed below. Pockets: Cut 1 at 6"x6 1/2" score on all 4 sides at 1/2". Fold the top 1/2" piece down and glue, this just reinforces your edge for when you slide things back and for inside the pocket. You will do this on all the pockets. Cut 1 at 5"x 6 1/2" score on all 4 sides at 1/2" and follow the directions as before on first pocket. Cut 2 at 4"x6 1/2" score on all 4 sides at 1/2" and follow the directions as before on first pocket. Cut 1 pocket at 3"x6 1/2" score on all 4 sides at 1/2" and follow the firections as on the first pocket. My spine pieces are cut at 3/4"x11 3/4", if using something different then adjust yours accordingly. Booklets: Topfold is cut at 4"x7 1/2", I just decorated and then put some coffee dyed papers inside. Side fold is cut at 5"x7 3/4", I just decorated and then put some dyed pages inside. The side pocket on the right flap is cut at 2 1/2"x11 3/4". Belly band is cut at 7"x1 1/2". Enjoy and don't forget to check out our facebook page linked here. Join and post your projects. Facebook: https://www.facebook.com/groups/scrapbookingwithmeboutique/ Also please follow us on instagram, we share lots of other projects there: https://www.instagram.com/scrapbookingwithme/ Have fun creating, E These measurements are for using card stock to cut your pages and pockets.
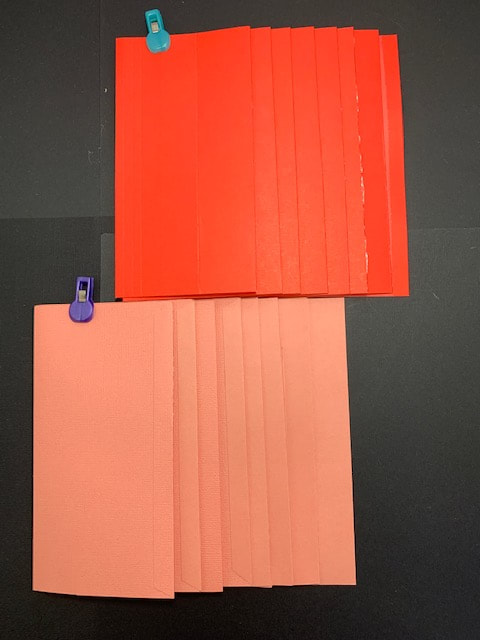
Page #1 - 12x7 1/4 inches score at 3 3/4" on long side. Left pocket for this page is 5"x7 1/4" score at 1/2" and 3"on long side. Page #2 - 12x7 1/4 inches score at 4 1/4" and 11 1/2" on long side. Left pocket is 4 1/2"x7 1/4" score at 1/2"on long side. right pocket is 1"x7 1/4" score at use flap you folded over at the 11 1/2" mark to glue this pocket to. Page #3 - 12x7 1/4 inches score at 4 3/4 and 11 1/4". Left pocket is 4"x7 1/4" score at 1/2" on short side. Right pocket is 1 3/4"x7 1/4" glue to flap at the 11 1/4" mark. Page #4 - 12x7 1/4 inches score at 5 3/8 and 11 1/4". Left pocket is 4 3/8"x7 1/4" score at 1/2". Right pocket is 2 1/4x7 1/4" add to flap created at the 11 1/4 mark. These are your pages and pockets for your card stock cascading mini album. **************************** File folder scores and measurements You will need 4 folders. Trim them off at 7 1/4x8 1/4" this is folded size. Page #1 no right fold unless you see you need it at the end when all is put together. From left score at 2", 4 1/2" and 8 1/4" Page #2 With file folder folded score at 7 1/4" on the back side. On the left side score at 4" and 8 1/4" Page #3 with file folder folded score at 6 1/2" on the back side. On left side score at 3 1/2" and 8 1/4" Page #4 with file folder folded score at 6" on the back flap or side. on left side score at 2 7/8" and 8 1/4" Fold and this should create all you pockets and your folders should sit together nicely. Below are the measurements for your folds and score lines if you are using file folders. To see the measurements for cardstock please scroll back down to the previous post for Saturday. Please click on this link to see the exact measurements and video tutorial for the folding, pockets and making this with regular cardstock. These measurements are for using card stock to cut your pages and pockets.
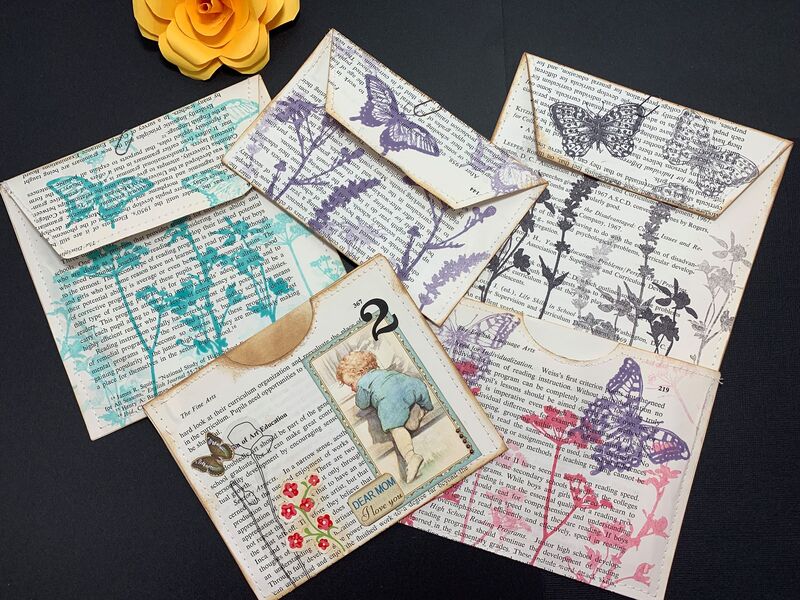
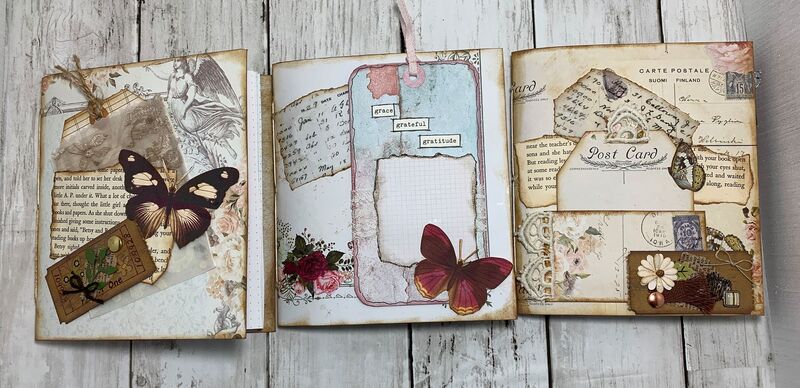
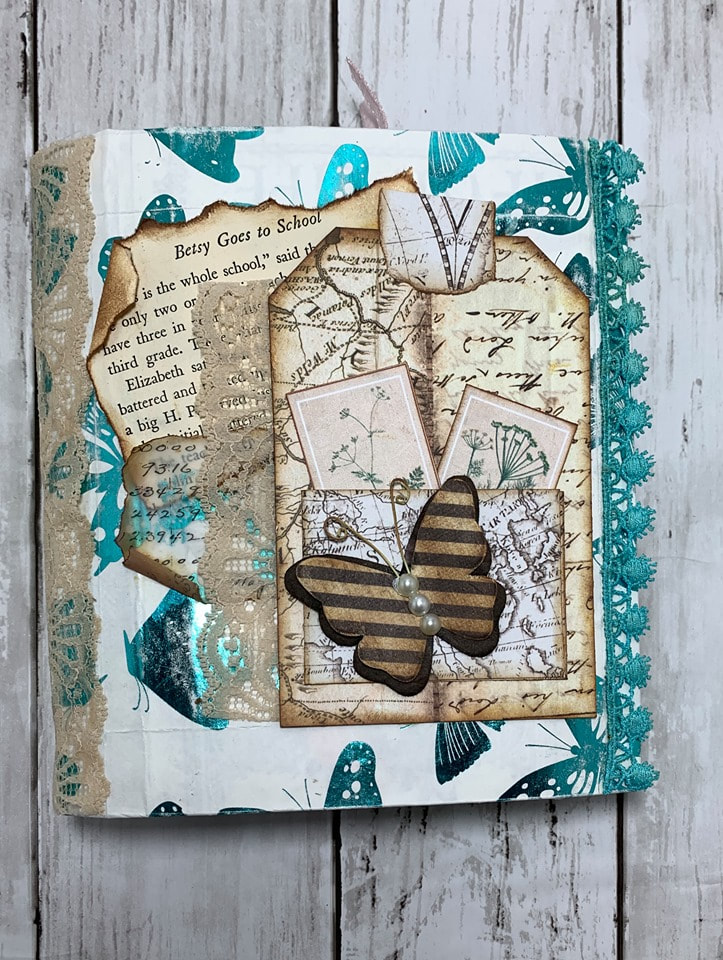
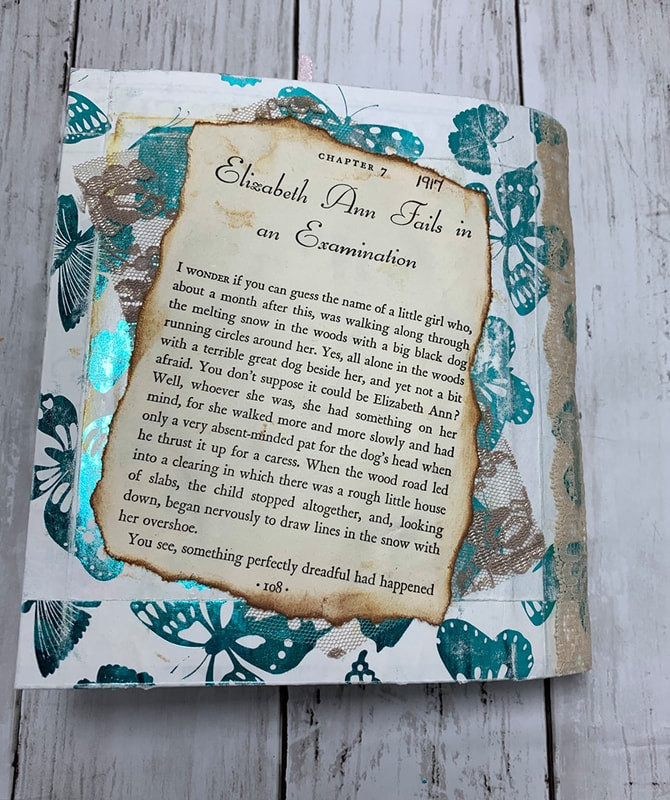
Page #1 - 12x7 1/4 inches score at 3 3/4" on long side. Left pocket for this page is 5"x7 1/4" score at 1/2" and 3"on long side. Page #2 - 12x7 1/4 inches score at 4 1/4" and 11 1/2" on long side. Left pocket is 4 1/2"x7 1/4" score at 1/2"on long side. right pocket is 1"x7 1/4" score at use flap you folded over at the 11 1/2" mark to glue this pocket to. Page #3 - 12x7 1/4 inches score at 4 3/4 and 11 1/4". Left pocket is 4"x7 1/4" score at 1/2" on short side. Right pocket is 1 3/4"x7 1/4" glue to flap at the 11 1/4" mark. Page #4 - 12x7 1/4 inches score at 5 3/8 and 11 1/4". Left pocket is 4 3/8"x7 1/4" score at 1/2". Right pocket is 2 1/4x7 1/4" add to flap created at the 11 1/4 mark. These are your pages and pockets for your yardstick cascading mini album. If you use file folders you just need to cut them off at 7 1/4" x 8 1/4" and then trim the ends even. We will go over measurements for the fold of your pockets on the next video. This is video #1 Video #2 coming on Monday. E Pull out your old books, stamps, ephemera and your inks and have a fild day creating beautiful pockets and envelopes. Quick and easy to make and I think they are beautiful. Use them in scrapbooking, journals, junk journals, or just as a sweet gift to a friend. Make sure to comment so that you will have another entry into the #maychallenge Make these any size you want, use up those scraps and create a beautiful cascading pocket stacked envelopes. These are beautiful in journals, albums, scrapbooks just anywhere. Leave your comments to make sure you have another entry in the #maychallenge. These are quick and easy. Use 12x12 paper Fold as shown on the video inside mat is 4 1/2"x5" Front mats are 1 7/8"x1 7/8" 1 3/4"x1 3/4" 1 1/5"x1 1/5" Challenge rules: ***May Challenge Rules*** ~ You must be a subscriber to our YouTube channel ~ 1 entry for every comment on May videos ~ 1 entry for redoing the project we did in the video and posting photos on Facebook group and tag me. Facebook group: http://goo.gl/CSN2a5 ~ 1 entry for redoing the project we did in the video and posting a photo on Instagram and tagging me. ***My Instagram is Scrapbooking with me ~ 1 entry for posting a video on YouTube mentioning us and linking our channel below the video. *** https://www.youtube.com/user/SCRAPBOOKINGWITHME ~ 1 entry for posting a comment on the blog post that is linked directly below the video you watched. ***each video will have a link directly below the video as this one does. ~ We will have the giveaway each Friday afternoon until the end of May. We are continuing on with our mini album journal using an old gift bag. This is making the signatures to go inside. Remember to leave a comment to be entered for the challenge and show us your projects on our Facebook group. That link is below. Facebook page: http://goo.gl/CSN2a5 Challenge rules: ***May Challenge Rules*** ~ You must be a subscriber to our YouTube channel ~ 1 entry for every comment on May videos ~ 1 entry for redoing the project we did in the video and posting photos on Facebook group and tag me. Facebook group: http://goo.gl/CSN2a5 ~ 1 entry for redoing the project we did in the video and posting a photo on Instagram and tagging me. ***My Instagram is Scrapbooking with me ~ 1 entry for posting a video on YouTube mentioning us and linking our channel below the video. *** https://www.youtube.com/user/SCRAPBOOKINGWITHME ~ 1 entry for posting a comment on the blog post that is linked directly below the video you watched. ***each video will have a link directly below the video as this one does. ~ We will have the giveaway each Friday afternoon until the end of May. On todays video we are just using a beautiful gift bag that I had in my stash and making a mini ablum cover. So grab thos gift bags and turn them into something you can use. Don't forget to leave your comment below. ***May Challenge Rules*** ~ You must be a subscriber to our YouTube channel ~ 1 entry for every comment on May videos ~ 1 entry for redoing the project we did in the video and posting photos on Facebook group and tag me. Facebook group: http://goo.gl/CSN2a5 ~ 1 entry for redoing the project we did in the video and posting a photo on Instagram and tagging me. ***My Instagram is Scrapbooking with me ~ 1 entry for posting a video on YouTube mentioning us and linking our channel below the video. *** https://www.youtube.com/user/SCRAPBOOKINGWITHME ~ 1 entry for posting a comment on the blog post that is linked directly below the video you watched. ***each video will have a link directly below the video as this one does. ~ We will have the giveaway each Friday afternoon until the end of May. |
AuthorI am a crafter, teacher, businesswoman, mom, nana and wife and recent widow. I find that hard work keeps my mind off things of this world and my sweet hubby. Therefore crafting is my therapy. I love to teach what I know to others and share any inspiration that I can. I believe crafting is therapy. Thank you so much for your support. Archives
July 2024
Categories
|


 RSS Feed