
|
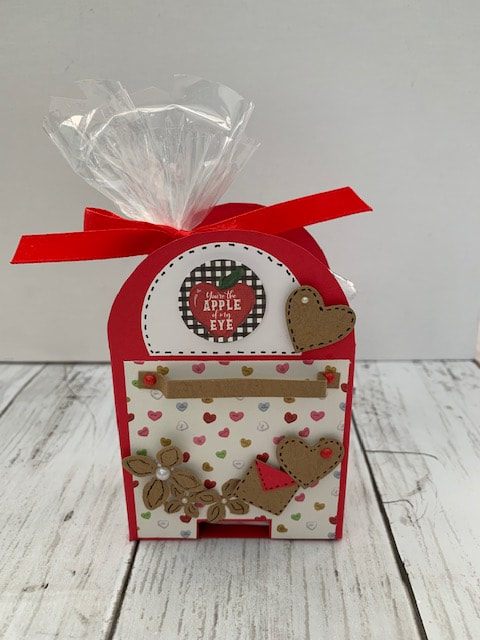
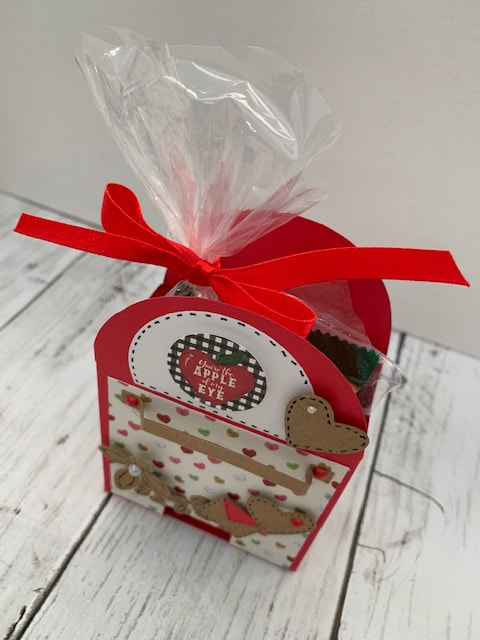
Cardstock 9 1/2"x6" on the long side score at 1/2", 2", 5" and 6 1/2" turn one turn and score at 4 1/2". Fold and burnish, cut away small tab at the end as shown in the video. Cut up on the score lines to create the joining flaps at the bottom. Cut the small tabs on the bottom about half into. Mark down from the top 1 1/2" all the way across and make a small mark on all the score lines. These will be cut away and cut creating your circle at the top as shown int he video. On the bottom large flap that will be the front mark in 1" and 2" and make a small mark. mark up from this bottom edge 3/8" and cut that part away this will create the small opening at the bottom as shown. You could also do this with a square punch. Mats are cut at 2 3/4"x2 3/4" Side mats are 1 1/4"x2 3/4" Please see below the video for all products used and for exactly how to put this little box together. Below is the free PDF. Thanks and enjoy, E
2 Comments
Today we are starting on our Friday series of mini albums done all different ways. We will explore the different and unusal ways to put a mini ablum together as well as adding photos and embellishments. Make sure to subscribe to our YouTube channel and click the bell so you will be notified when we upload new videos. You don't want to miss anything! What you see in the photo are just some of the goodies we will be adding to our album as we add our photos. Check below for the measurements for the covers. As we make the pages we will add the measurements for those on the bottom. Enjoy and let me know if you make one. I want to see. Products are linked below the video. 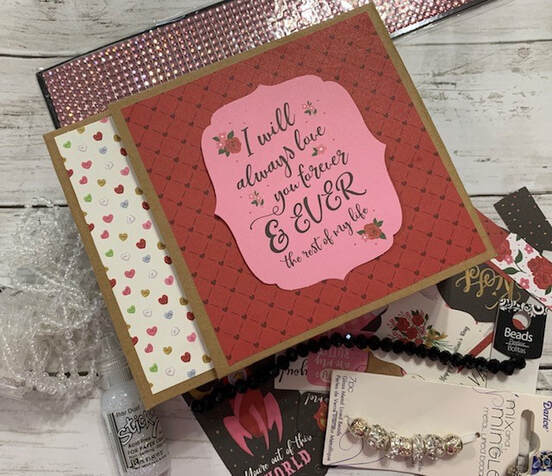 Chipboard, you will need 2 pieces that is cut at 6 1/4"x5" and 2 pieces that is cut at 2"x5" and then 1 that is cut at 5"x5".
For your paper cover you will need 2 pieces that are cut at 7"x12", glue these together on the long end and you should end up with a 7"x24" piece of paper. Lay you chipboard out as shown in the video and glue it down as we show. Trim your corners and fold the excess paper over the chipboard and glue down. Place your magnets down now. The inside paper cover is cut at 4 3/4"x12 and 4 3/4"x10 3/4", glue these together and then glue on the inside of the album. Mats are cut at (4) 4 3/4"x6" Spine (4) 1 3/4"x4 3/4" Front flap (2) 4 3/4"x4 3/4" Glue these on and then you are ready for next weeks video, THE PAGES. Hello everyone and welcome to Thursday our dedicated Cricut Class Day. Now I know there are many, many, many tutorials out there on the Cricut, and I am not claiming to be an expert. But I do know that when I got my first Cricut I wish someone would have just told me the simple basics of how to get started. There are a few things that the quick start guide does not tell you when it comes to hooking it up to your computer. So we are starting from opening the box and going to getting it turned on and hooked to your computer today. Then I want you to leave me questions on things that you want to know how to do and each Thursday we will take about 45 minutes to dedicate to your questions and teaching you how to do them. But first things first: WINDOWS/MAC NOTE: IF YOU ARE ASKED FOR A PIN AT ANYTIME IN YOUR SETUP IT IS 0000. 1. Open the box and take out the cricut with all the attachments and booklets. 2. Look over the start up guide and the booklets just to get yourself familiar with what it includes. 3. Plug all the cords into the back of the machine. (if you are going to hook up to your computer using bluetooth then you don't have to plug the second cord in just the power cord.) To find your bluetooth on your computer right click the start button, choose Devise manager, then bluetooth. If your machine is on and within range (about 5 ft) then it should show up in this menu. Choose your machine and click connect. 4. Make sure you plug the power cord into a well grounded outlet or power strip. Never plug into a regular extention cord. 5. With the machine on go to https://design.cricut.com/#/setup, and choose your machine. Follow the instructions on the page and create an account. 6. Download and install the Design Space plugin when prompted, you get thousands of images for free with your New Cricut. This is great to get started with but I recommend going ahead and signing up for Cricut Access which is only $9.99 a month and you get 100,000 + free images and access to exclusive deals and discounts for access members only. It is much cheaper than purchasing images that are not free for $.99 or $1.99 each. 7. You will know when your setup is complete when you are prompted to make your first project. IOS/ANDROID 1. Plug in the machine and power it on. 2. Pair your Android or iOS devise with Cricut machine via Bluetooth. 3. Download and install the Design Space app, it will look like the photo below. 4. Launch the app, then sign in or create a Cricut ID. 5. Tap the menu and select Machine Setup & App Overview. 6. Select New Machine Setup. 7. Follow the on-screen prompts to complete setup. 8. You will know the setup is complete when you are prompted to make your first project. Now it is time for questions to get us going on learning how to cut, download, upload, create files, make cards etc on our machines. So leave those questions below our video. 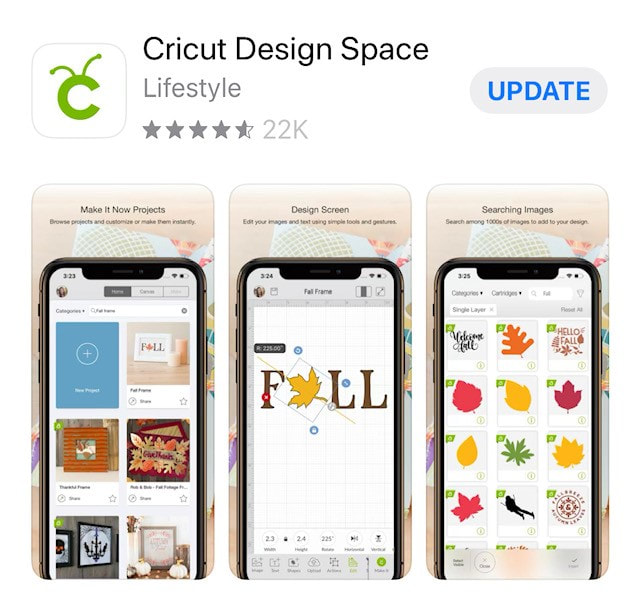
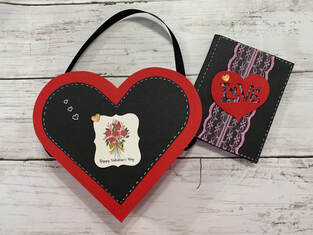
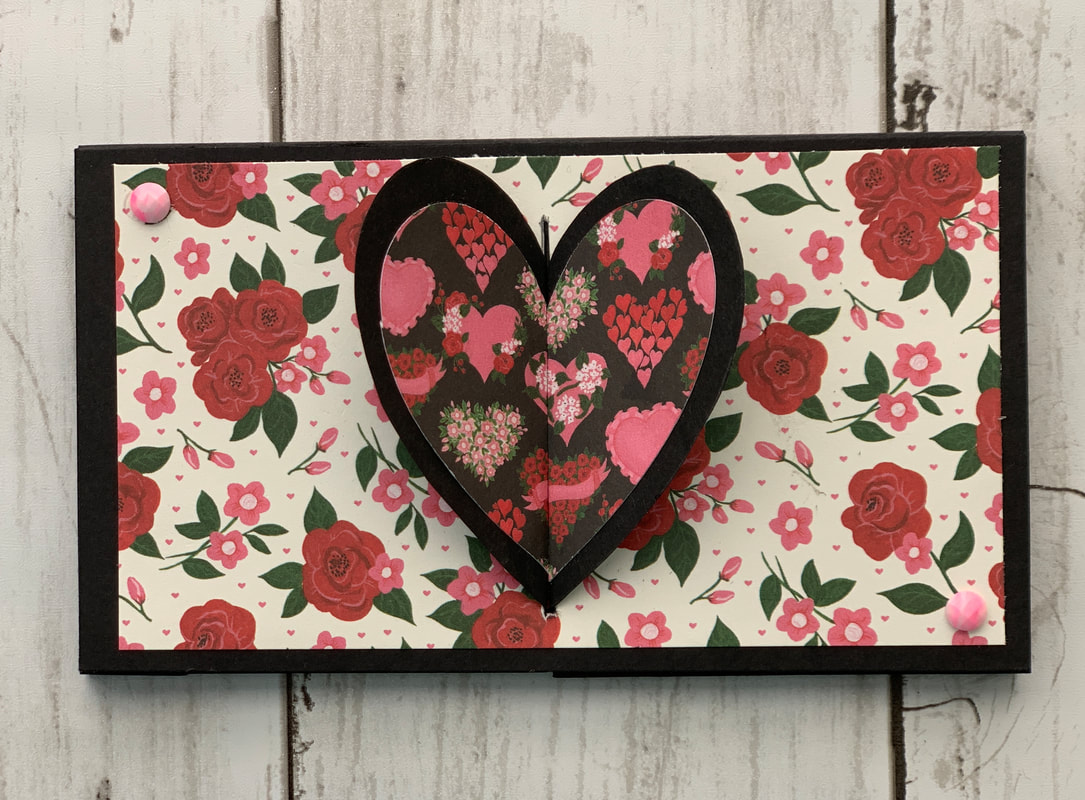
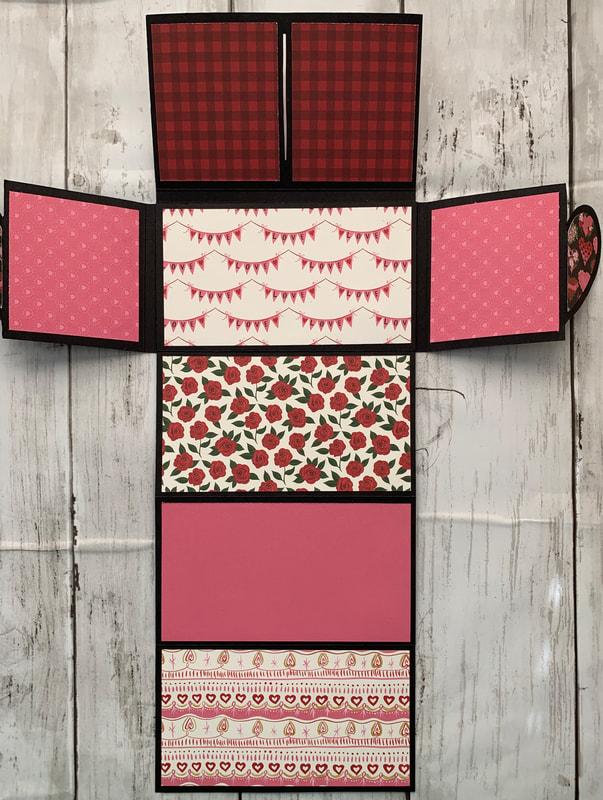
This cute interlocking mini album also cascades and is so easy and quick to make. Below is all the information you will need to complete this as well as the Free PDF and SVG. Please make sure you are subscribed to our YouTube channel before downloading these. First piece of cardstock is your base or pages and it is cut at 10 1/4"x5 1/2" on the long side you will score at 3 1/8", 6 1/4" and 9 3/8". fold accordion style. Cut another piece at 5 1/2"x3 1/8" and clue this on the small tab just up to the score line to create your 4th page. You will need 9 mats cut at 5 1/4"x2 7/8". Front part with hearts is included in the PDF but here is the measurements and how you will need to score. Cut 2 pieces of cardstock at 5 1/8"x3 1/8" and score on the long side at 1 1/2"x4 1/4" and 4 1/2". On the 1 1/2" piece is where you will place your heart. If you use the template then just score at the end of the heart to create this fold line. Mats for these front covers are cut at 2 1/2x2 7/8 inches. Cut one piece of cardstock that is 5 1/2"x3 7/8" and on the short side score at 3 1/8" and 3 3/8". This will be the piece that goes over the top and will glue to the back as shown in the video. Top mat for this piece is ctu at 2 7/8"x 5 1/2" Mats for the inside of this front piece is cut at 2 1/2"x2 3/4" mats for the two pieces with the heart is cut at 2 1/2"x2 3/4" Cut the opening in the front flap that is glued at the top starting at the center and come down 1/2" from the top. So measure in from sides 2 3/4" and down from top 1/2" and then cut out about a 1/8" opening for your hearts. This is it this is just how quick and easy this mini is. Hope you enjoyed. E
|
AuthorI am a crafter, teacher, businesswoman, mom, nana and wife and recent widow. I find that hard work keeps my mind off things of this world and my sweet hubby. Therefore crafting is my therapy. I love to teach what I know to others and share any inspiration that I can. I believe crafting is therapy. Thank you so much for your support. Archives
July 2024
Categories
|
||||||||||||||||||||||

 RSS Feed