|
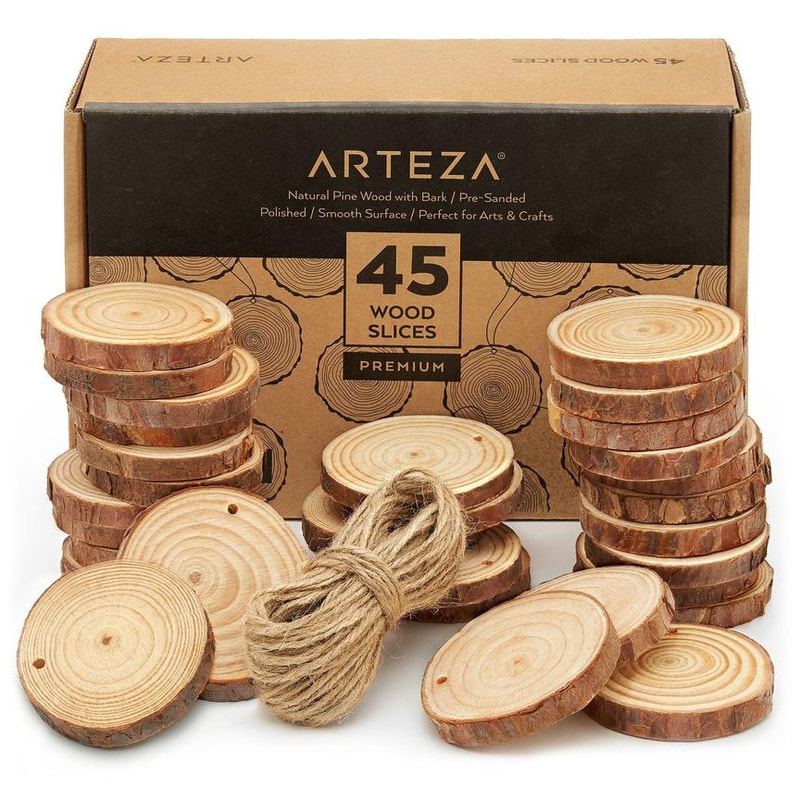
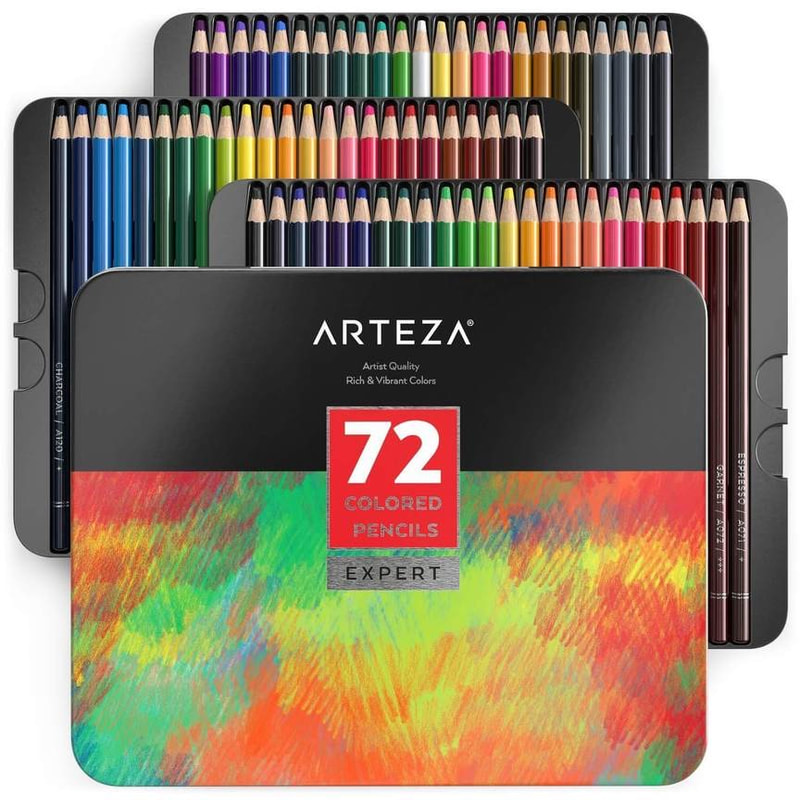
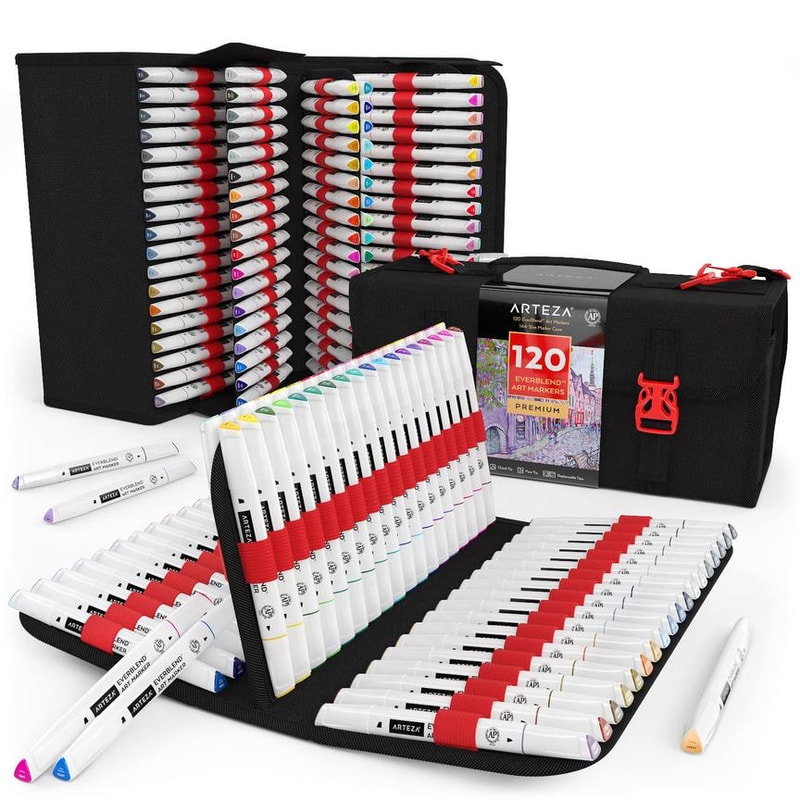
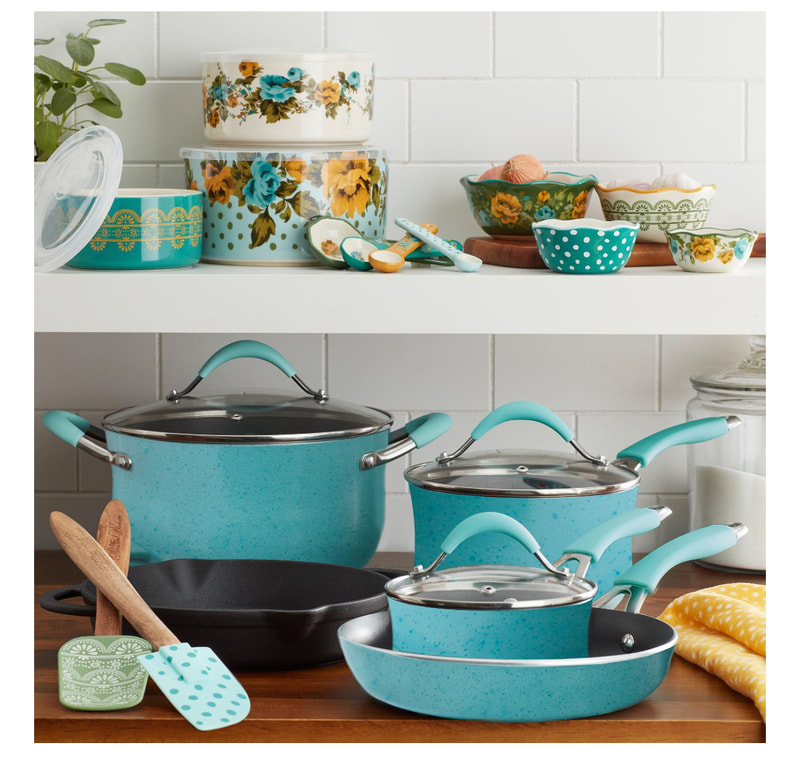
We are adding to this list please come back in a few minutes to see updated products. This is the best thing since sliced bread. They work so well and save me so much time. I use mine all the time. This one is like mine and it is $100 off regular price. This is a steal and will save your back. OUR AMAZON LINK: https://amzn.to/2v02Gqi A great deal on this HP printer! My favorite place to purchase art materials. And they sell them cheaper than I can buy them wholesale. And what a sale they are having, use code BFCM15 and get an additional 15% off and FREE SHIPPING. SHOP HERE: http://shrsl.com/1zert WalMart Link: https://go.magik.ly/ml/cdgx/
1 Comment
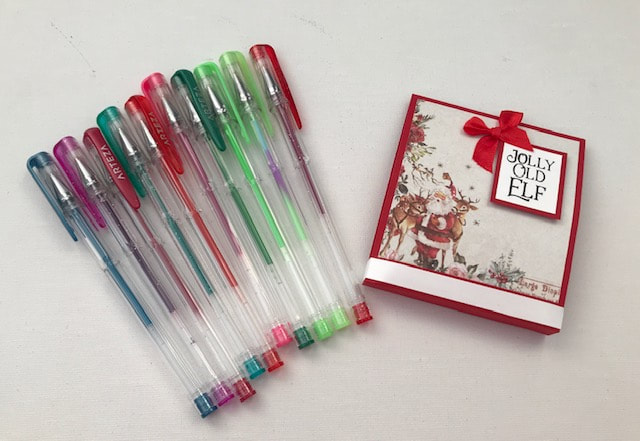
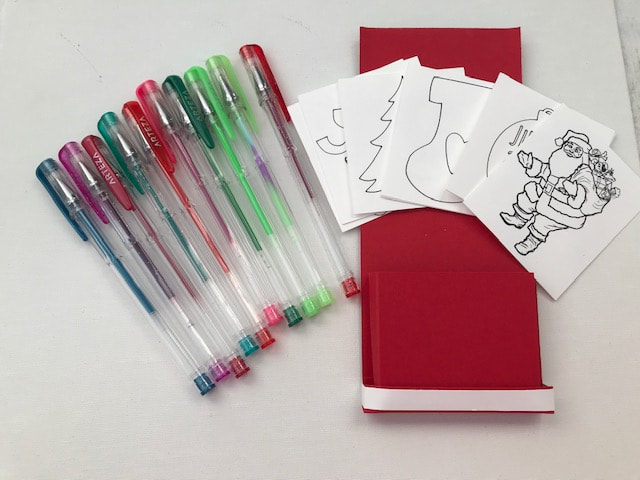
Cardstock 9x3 1/2 inches score on the long side at 1/2"x1", 5" Mat for the front cover is 3 1/4"x3 3/4" Inside color page holder is 5"x3 1/2" score at 1/2", 1", 4", 4 1/2" turn one turn and score at 2 1/2", 3". Color pages are cut at 2 3/4"x3" Stripe for the bottom is cut at 3/8"x9"
FREE FILES BELOW
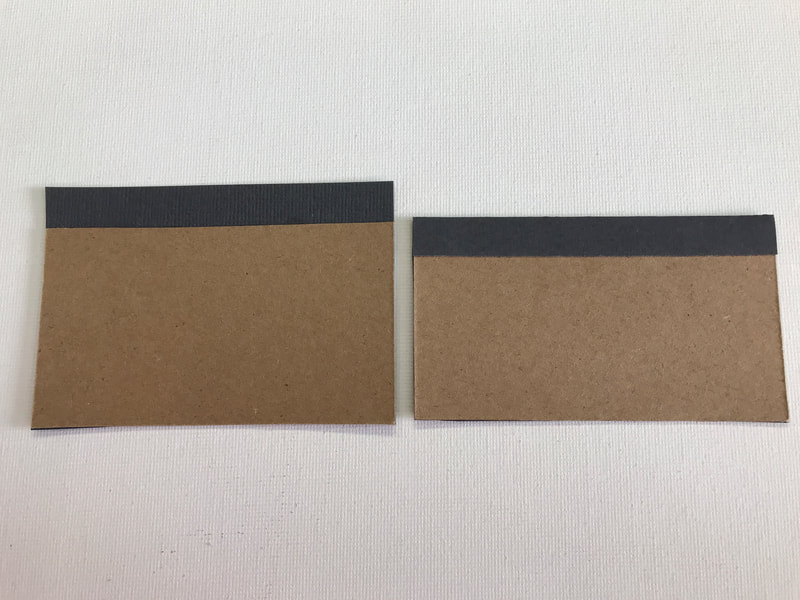
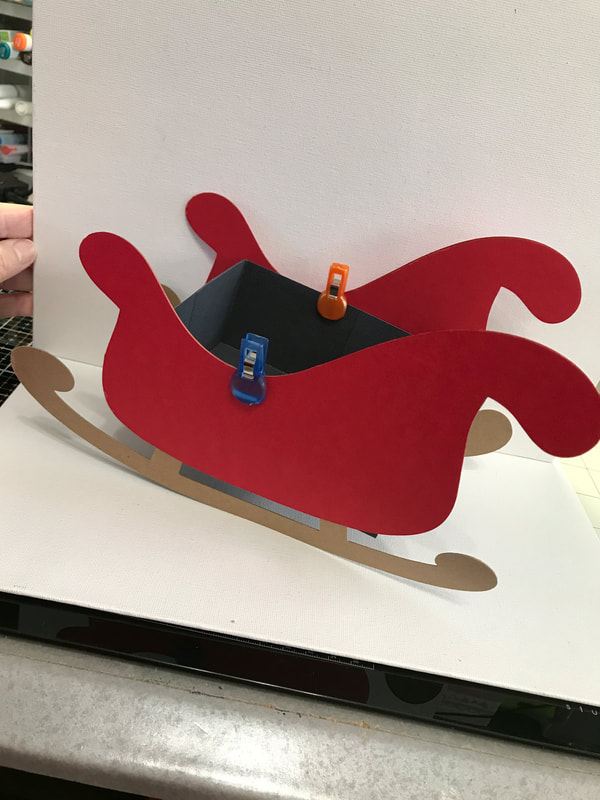
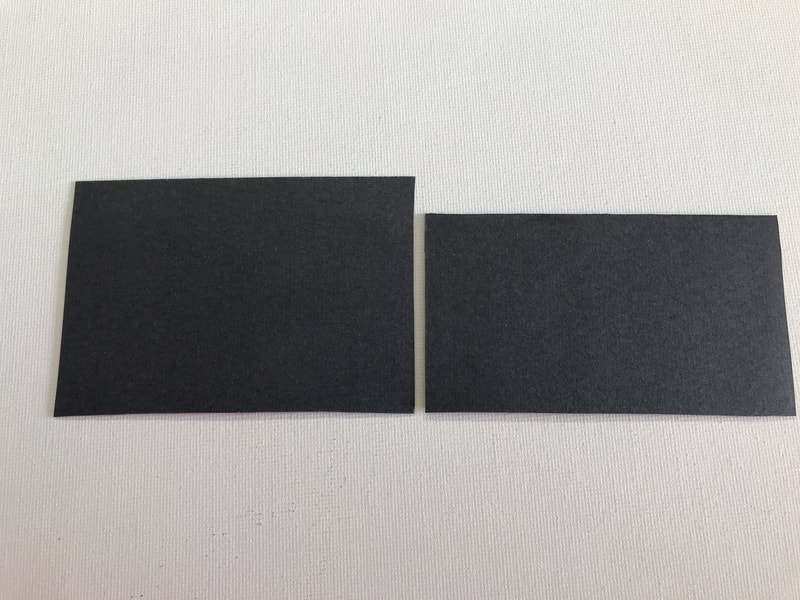
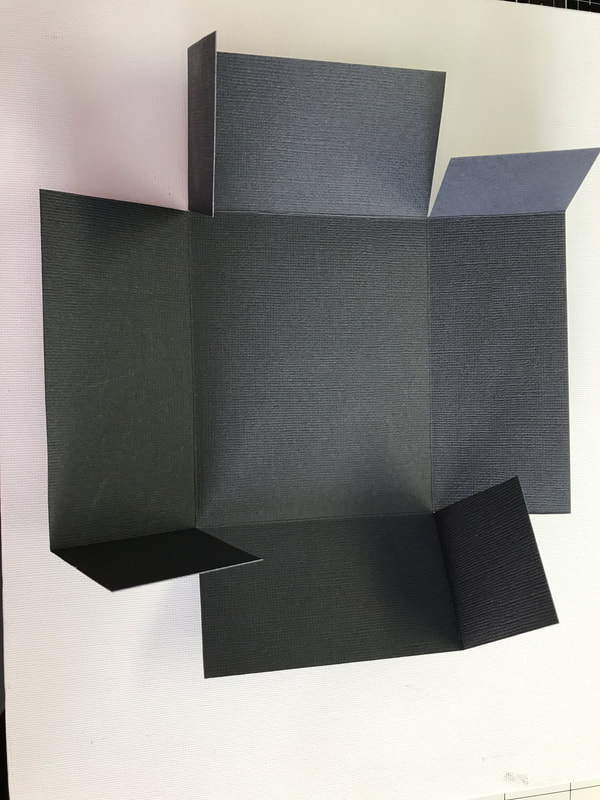
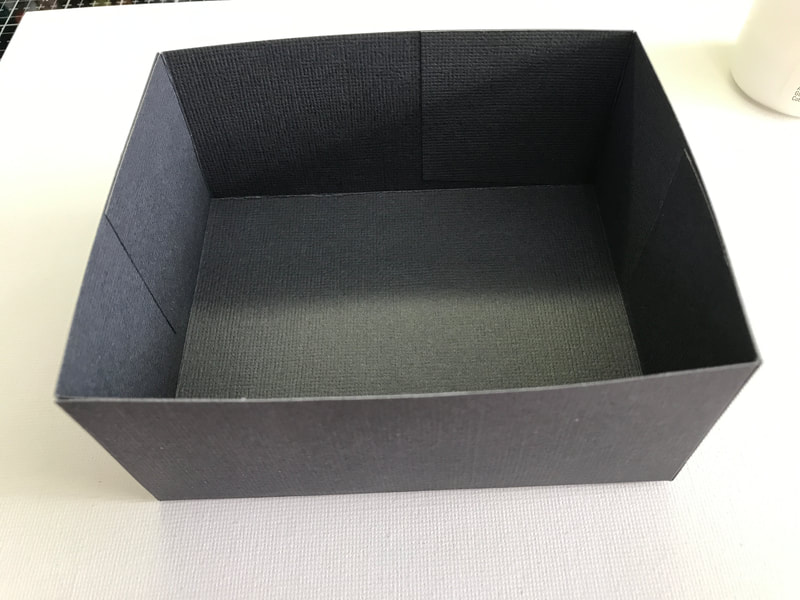
Hey guys, since I am having to take a small break on tutorials, I wanted to go ahead and give you the files for the Sleigh we will be making using products from our November kit. I have all the templates, SVG, PDF files, as well as the written instructions below. I will get the video up tomorrow I am hoping. I go back to see my doctor today. Am still weak but feeling better. Now you can cut all of this from card stock if you want to, but I just used some of our thin chipboard and cut it our. This makes it a little stronger. Either way will work. For the inside sleigh part I did use some card stock that was included in our kit, but I also used some scrap pieces of the light weight chipboard to go on the bottom and the ends, just to make it a little stronger. I am going to use mine for table favors, and place hand lotions, hand sanitizers, lip balm, gloves for men, chapstick for men, etc in mine. So I wanted mine a little stronger. The full sleigh from back to front measures right at 10" and it is almost 6" tall, therefore it will hold lots of goodies. The inside of the sleigh is 4"x5"x2 1/4" so nice and big for lots of candy and goodies for your guest. Decorate these up with colors and items to match your decor and you have a very nice addition to your holiday table. The paper for the inside of the sleigh is cut at 8 1/2"x9 1/2". On the 8 1/2" side you will score at 2 1/4" and 6 1/4", turn one turn and score at 2 1/4" and 7 1/4". You will cut up on all the score lines as shown in the template, wedging out just a small amount on the inside ONLY. Then glue these together creating your box, or the bed of your sleigh. I cut my light weight chipboard for the bottom just shy of 4" by 5" this allows for it to fit right down on the inside. Before you place the chipboard in cover this will paper so you don't see the raw chipboard. Do the same for the ends pieces. They are cut just shy of 2 1/4"x4" and you will cover them with paper but on the top side, make sure to leave the paper 1/2" longer than the chipboard so you can fold it over and there is no raw chipboard showing. This example is shown in the photo above. Now I used the upper and lower templates to cut out red and then I will be cutting out gold or silver for my bottom runners. In the photo above I am just showing you how I am doing mine, right now it is just clipped on because I want to get my runners covered before I glue the inside on. But this gives you and idea of how it is suppose to look. When you are ready to glue the box, inside part, on just center it the best you can on the first one and glue then you should be able to closely mate up the other side. Now comes the fun part just decorate anyway you would like, add whatever you want, this is all up to you and it will be beautiful. I still have to pull out some Christmas decor to put on mine, so I probably will finish it tomorrow. I am hoping to get the video loaded ASAP. Let me know if you have any questions. E
|
AuthorI am a crafter, teacher, businesswoman, mom, nana and wife and recent widow. I find that hard work keeps my mind off things of this world and my sweet hubby. Therefore crafting is my therapy. I love to teach what I know to others and share any inspiration that I can. I believe crafting is therapy. Thank you so much for your support. Archives
July 2024
Categories
|
||||||||||||||||||||||||||||||||||||||||||||||||||||||||||||||||||||||||||||||||||||||||


 RSS Feed