|
All files are linked below the video as well as linked below the blog post for the last 3 days. Hope you enjoy making this mini as much as I did sharing it with you. Love E
1 Comment
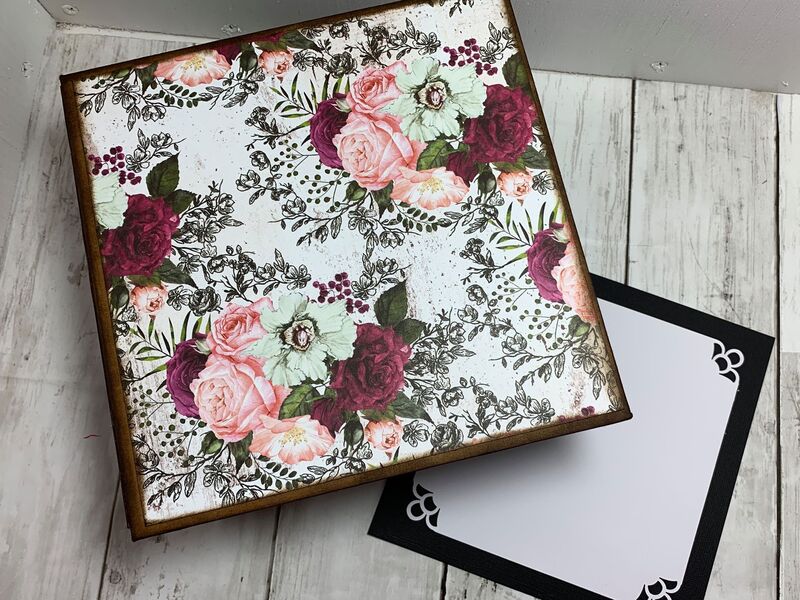
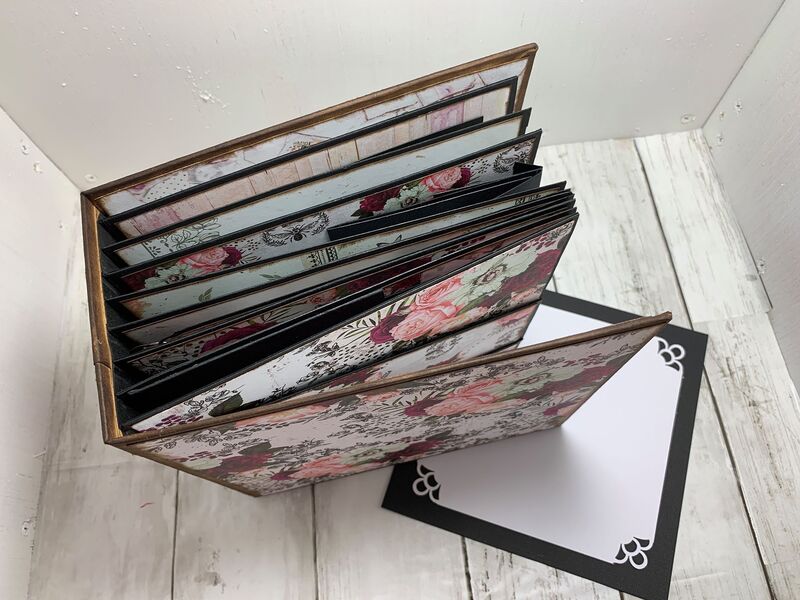
We hope you are enjoying this series of our large mini ablum. We have dedicated this album to Addie and Marie, two of our sweet followers. The PDF's are linked below, there are 6 pages today. Yesterdays free files are just a post below this one. We hope to see the finished products soon. Enjoy, E
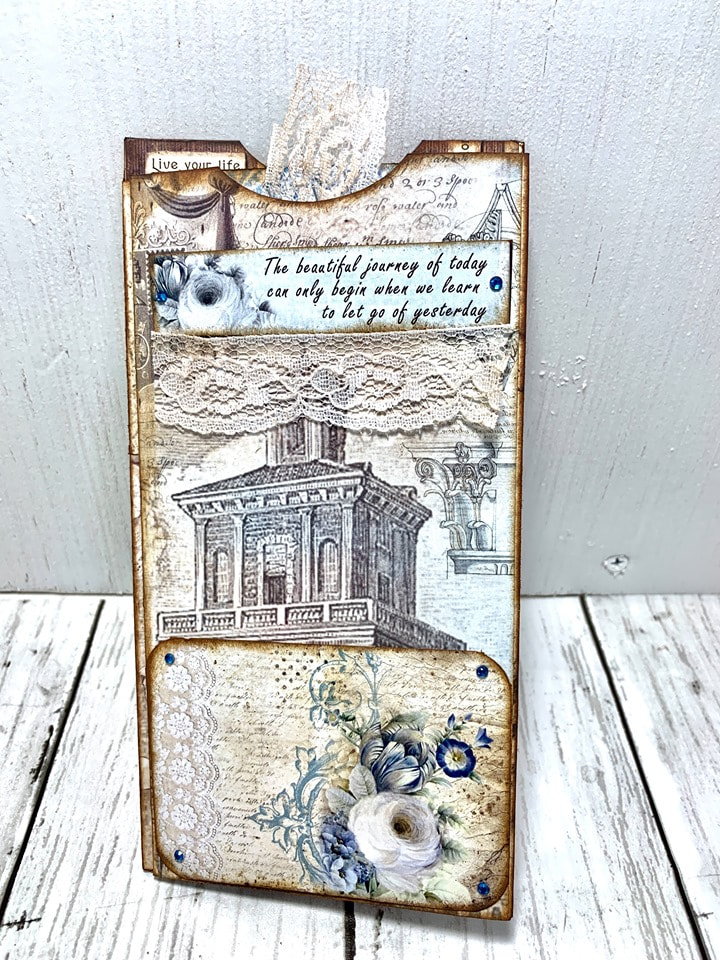
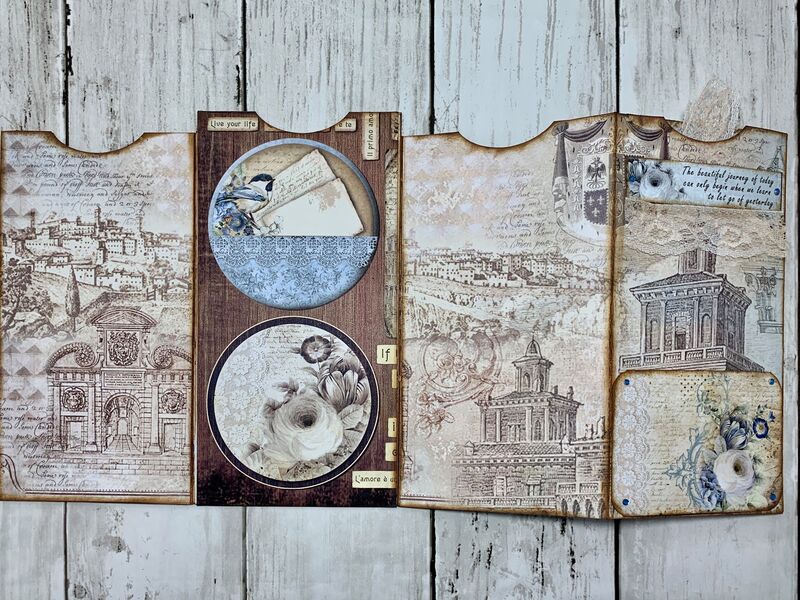
Pages and pockets are what we are working on in this video. I also have a link below with all the PDF's for these. Please make sure to be a subscriber to our YouTube in order to use these files. And please do not share or sell they are copyrighted.
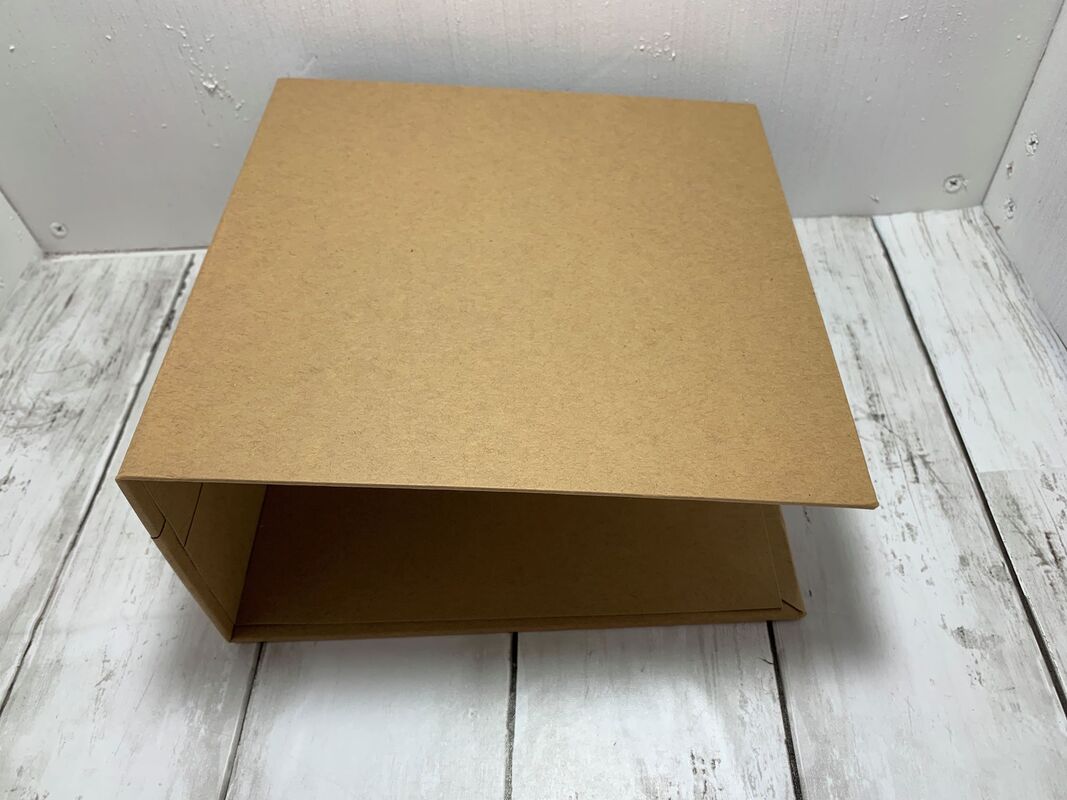
Chipboard is cut at 2 pieces 8x8 inches 1 piece 4x8 inches Outside paper cover: 2 pieces 10"x12" glue together on the long side, making a 10"xalmost 24" long piece. Inside paper cover: 2 pieces 7 1/2"x10" glue together on the long side, making a 7 1/2" by almost 20 inche piece. Attach the paper to the chipboard as show in the video. Tomorrow we will have part two with free pdf's ~ pages and inserts.
Files are linked below. Please don't share these files or sell them, they are for personal use only.
Today we are doing a project for the first time after watching one of Windy's videos. Her channel is linked below the video please go over and watch it. She is very talented.
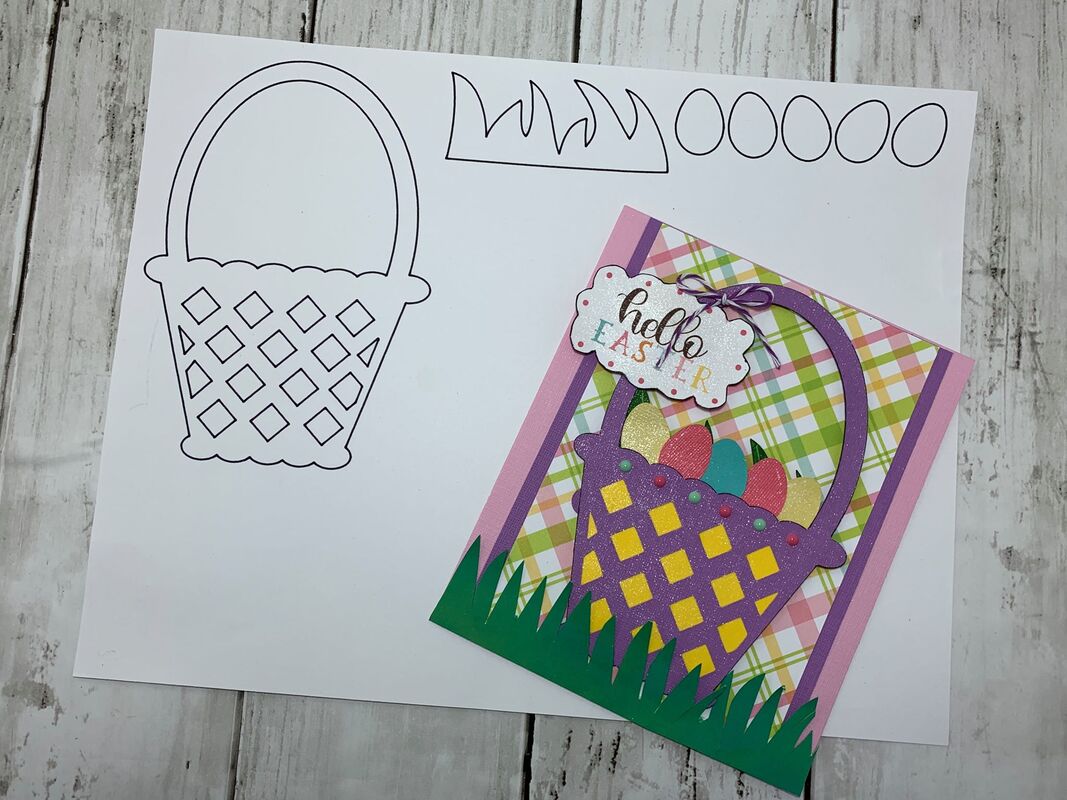
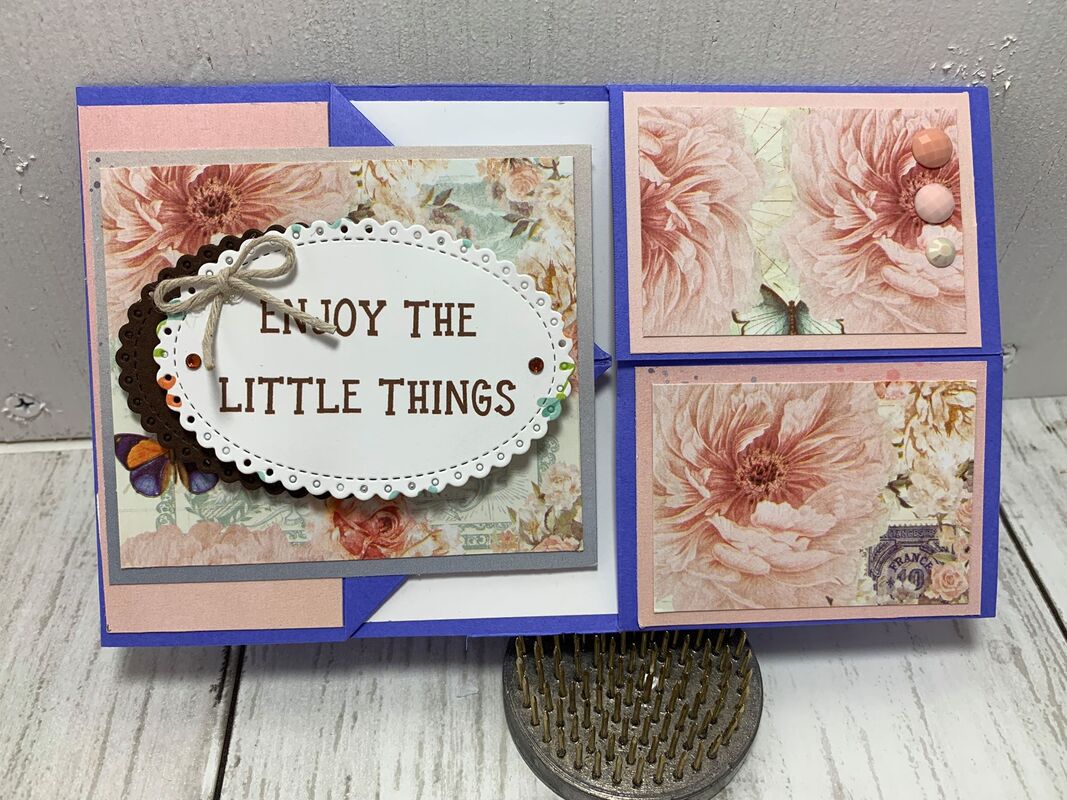
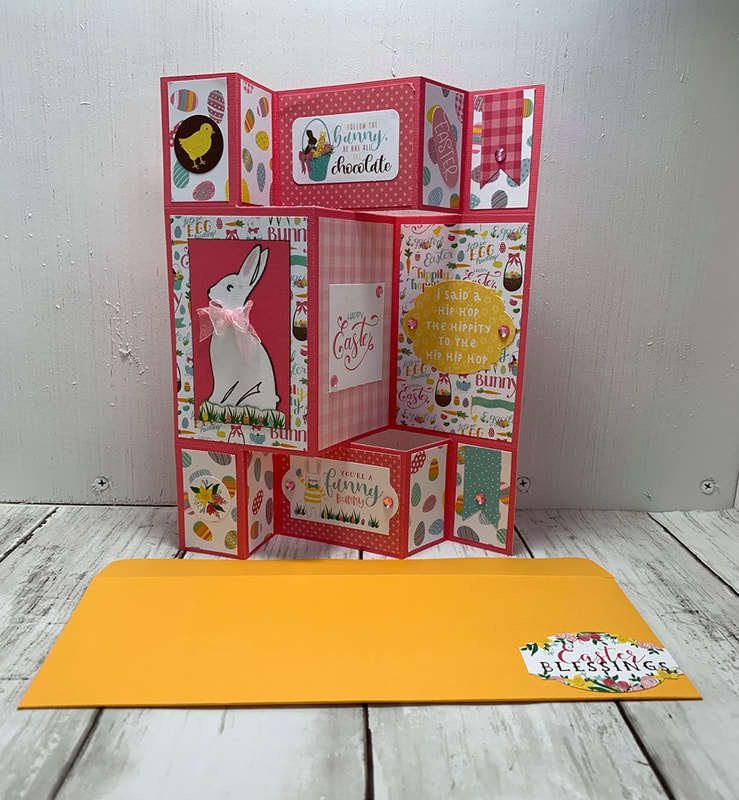
Cardstock is cut at 8 1/2x11 inches, on the 11" side score at 4". Turn one turn and score at 2 1/8" and then turn 180 degrees and score on the opposite side at 2 1/8". Now go back to the 11" side and go down to the 8" mark and just score down to the first horizontal score line. Flip the card and do this on the other side.
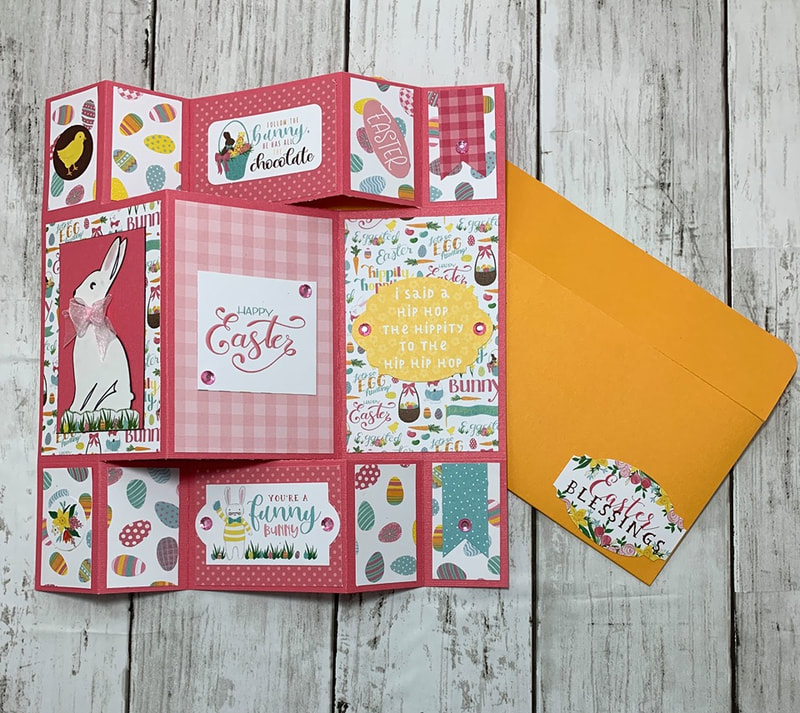
White piece for the inside is 6 3/4x4 inches. Mats are cut at 2"x2 3/4" need 4 1 3/4"x2 1/2" need 4 Mat for inside and out 1 7/8"x4" cut 2 Over the top mat is cut at 3 1/4"x3 3/4" and bottom layer is cut at 3"x3 1/2" Decorate and you have a beautiful unusual card. Enjoy, E Thanks Alycia B. Cardstock for card is cut at 9"x9" score on the first side at 2 1/4" and 6 3/4" turn one turn and score at 1 1/2", 3", 6", 7 1/2". You will cut on the 2 1/4" score line from the 1 1/2" mark to the 7 1/2" mark. I show this on the template linked below. Mats are cut as follows: 8 cut at 1 3/8"x2 1/8" 2 cut at 2 3/4"x2 1/8" 3 cut at 2 3/4"x4 1/4" Cardstock for under the rabbit is cut at 2"x3 1/2" Envelope cardstock is cut at 8"x10 1/2" on the 8" side score at 1/2" and 5", turn one turn and scoree at 1/2" and 10". Fold and cut away as shown in the video above. Glue sides together and round the corners of the flap and you have a perfect envelope for your card. Please keep in mind in order to use any of our FREE templates/files you must be a subscriber to our YouTube channel. We are monitoring this and if we see that a lot are using the templates/files and are not subscribed we will have to start charging for them. All templates and files are copyright of scrapbookingwithme, these can not be shared or sold, personal use only.
Enjoy, E
Measurements are below.
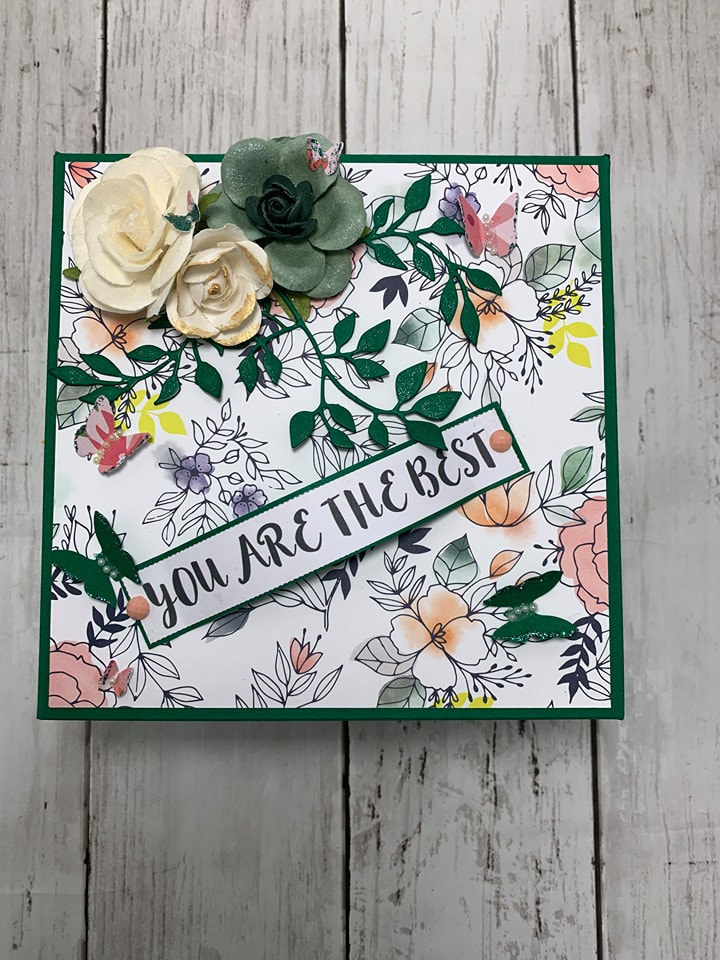
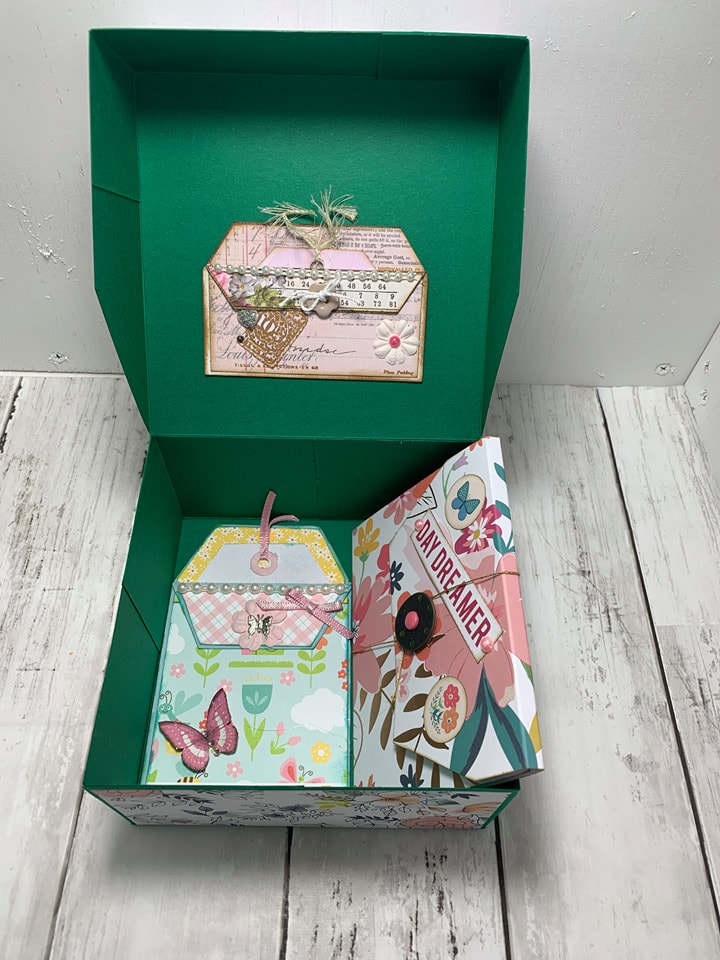
Cardstock 12x12 score at 3 and 9 turn and score at 3 and 9. Top of box cardstock is 10x10, score at 2 and 8 turn and score at 2 and 8 Mats for bottom are cut at 2 3/4x5 3/4 cut 4 Mats for top sides are cut at 1 3/4x5 3/4 cut 3 Mat for top is 5 3/4x5 3/4 That is it! Now just watch the video and I will show you how this is put together. Have fun! And thank you Deborah for the suggestion. E |
AuthorI am a crafter, teacher, businesswoman, mom, nana and wife and recent widow. I find that hard work keeps my mind off things of this world and my sweet hubby. Therefore crafting is my therapy. I love to teach what I know to others and share any inspiration that I can. I believe crafting is therapy. Thank you so much for your support. Archives
July 2024
Categories
|
||||||||||||||||||||||||||||||||||||||||||||||||||

 RSS Feed